|
|
| Home-->F1 Rocket Project-->Rig/Final Assembly Page 7 |
|
SITE CONTENTS
Please send your comments and suggestions to:
Copyright © 2002-2005 by
|
Links
on this page: Map Box Interior Panels |
|
|
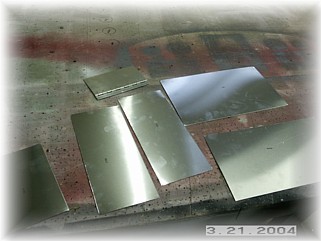
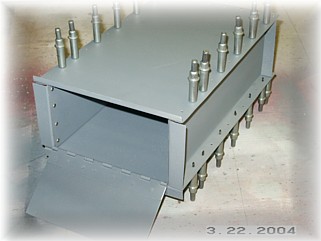
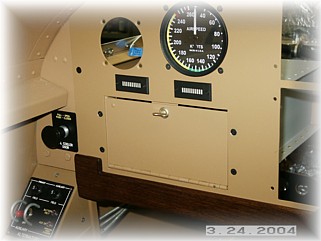
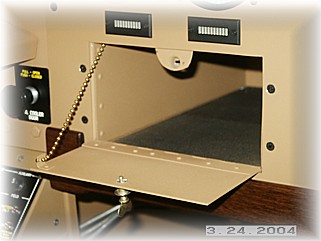
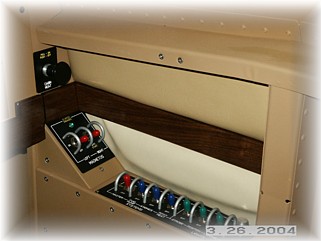
My instrument panel plans have always included a map box. I planned to build one from scratch with an opening in the panel the same size as a MX20 Moving Map display. That way, if I ever decide to install one, it should be easy to do. I cut me some pieces of aluminum sheet, bent them up, and drilled them together. The idea was to make the entire unit removable with just a couple of screws.
After riveting the thing together, I painted the front the same color as my panel and installed it. I put some wink walk material in the bottom to give the contents some grip and I installed a simple light chain as a catch to keep the door from flopping all the way open.
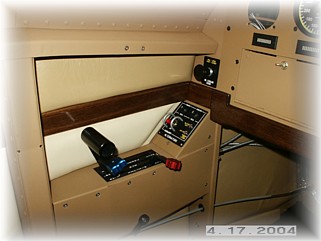
My plans for the interior cockpit panels have changed several times in the past month. What I finally decided to do is to use some walnut trim across the bottom of the instrument panel and down the sides of the interior. Below the trim I'll use some of the lighter leather scraps that I have left over from my seats. Above the trim, I'll use the darker leather. First step is to cut the wood pieces out of some trim that I bought at a specialty woodworking store. It takes about 6 coats of clear to bring out the finish.
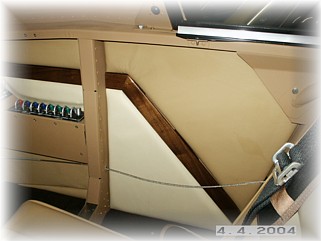
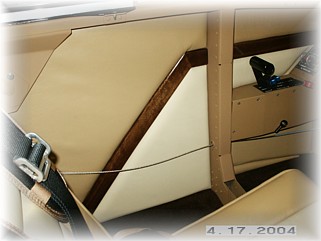
On the side panels, the first step is to install the lower leather panel. I'm attaching the leather to some backer board and some high density foam. Once that piece is installed, I glue the wood trim in place and then finally, the upper leather piece. This is surprisingly light. There's not that much weight there at all, but I really don't care. My mission profile is comfort first, looks second, and performance third.
Here's what the panels next to the pilot's seat looks like. I was limited in my design because I have just a little bit of the light leather left over from the seats. That kind of forced me to end the two-tone scheme here.
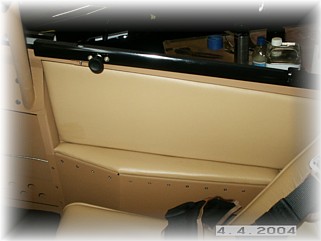
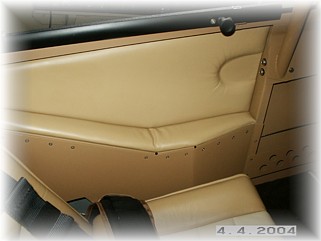
Here are the rear panels. Nothing real special since I had to use all of the darker leather. Looks real good though and feels good too.
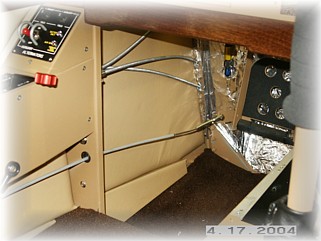
I also put a couple of panels behind the instrument panel. The interior is officially finished. Now work can begin behind the instrument panel. That work is shown on the next page. |
||
|
|
||
|
"It takes 20 years to build a reputation and five minutes to ruin it. If you think about that, you'll do things differently." - Warren Buffet |