|
|
| Home-->F1 Rocket Project-->Canopy Page 1 |
|
SITE CONTENTS
Please send your comments and suggestions to: Copyright
© 2008 by |
Links
on this page: Windshield Bow Canopy Tracks Windshield Skins Canopy Frame |
|
|
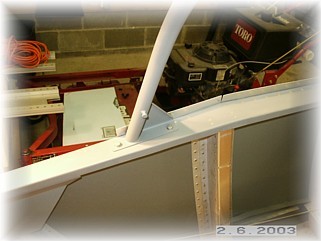
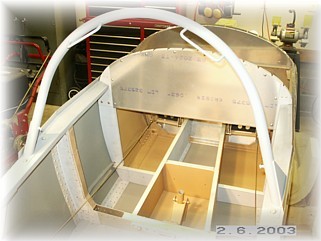
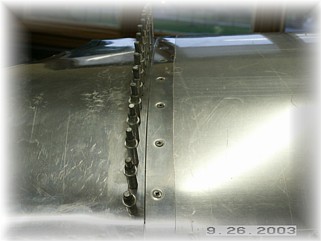
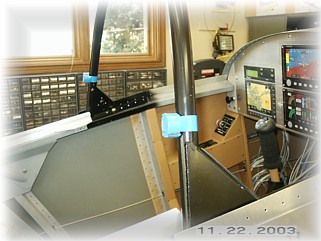
Windshield Bow
I mounted windshield bow per the instructions. After drilling the holes in the canopy rail, I held the clips underneath the bow with my fingers and marked the locations of the holes. After drilling a smaller pilot hole in the center of the mark, I drilled them up to final size on the bench. After cleaning the holes, I bolted everything together.
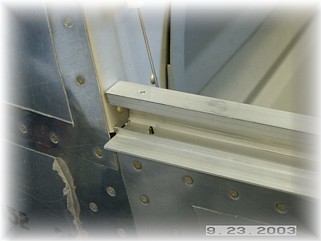
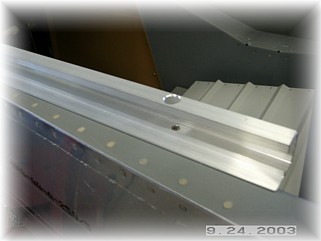
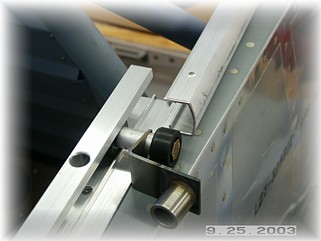
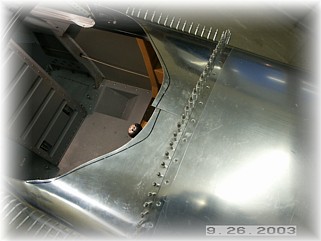
I'm using the canopy tracks from Van's rather than the set that came with the kit. I mounted the rear tracks per the plans.
On the forward tracks, I trimmed the inside edge to follow the contour of the canopy rail and then cut a smooth transition to the mounting point. I had a little bit of trouble assembling the canopy trucks. Although it didn't say anything in the plans, I used my Unibit to countersink the threads on the short casing about 3/16" so that the shoulder of the bolt would fit and allow the bolt head to fit inside the wheel assembly.
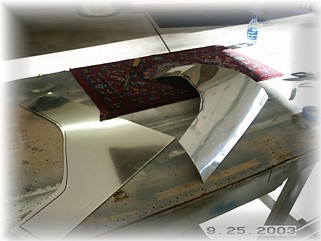
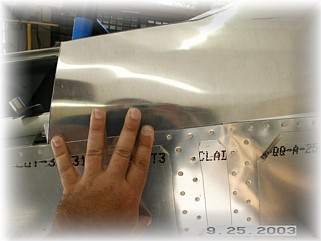
I started out by roughly cutting out the shape of the side skins. At this point, the important reference points are the straight edge along the bottom and the aft tip, which aligns with the foot of the canopy bow. After bending the part around a piece of PVC pipe with my hands, I began fitting the skin by aligning the straight edge along the side skin.
At the forward edge, I measured the offset and then trimmed the skin to fit. After a bunch of trimming, filing, and jiggling, I got a good fit. I then pre-drilled the holes in the skin over on the workbench, then took the part over to the fuselage and drilled the skins to the doubler.
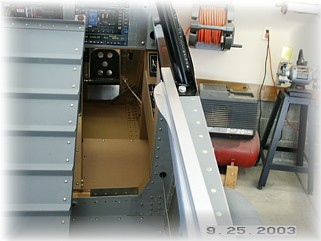
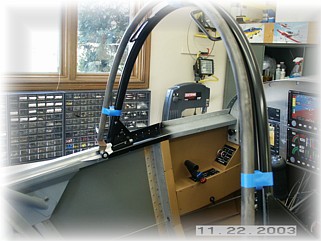
I used the method from the plans for trimming the front skin. I then completed the other skin just like the first. For now, I am leaving the cut out rough until I fit the windshield. I will wait until then to decide how much of a glare shield I want. I ruined my first canopy frame when I mounted the rear part of the frame too low. As repayment for all my complaining, Mark sent me the canopy frame as unwelded parts for me to assemble as a test. I agreed to put the thing together and document the process. So, let's get started on the front bow.
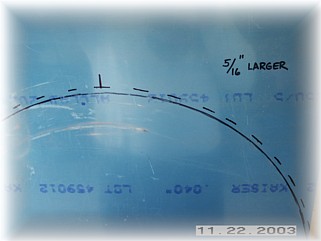
The first step is to get the front canopy bow to match the windshield bow. I drew an outline of the windshield bow on a piece of sheet aluminum and then marked the outline of the canopy bow 5/16" larger. This will serve as my template while I make frequent trips back and forth to the bender.
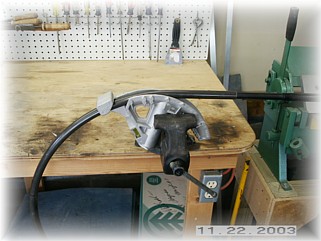
Starting at the top of the bow, I made small bends in the front bow until it matched the outline on my template. Eventually, I had to heat the bow to get it right. The way the front bow is supplied, it has two uneven bends in it at about 10 o'clock and 2 o'clock. I had to heat these spots to get them out. It took about an hour to get the bow to fit right. The good news is that the hardest part is now done!
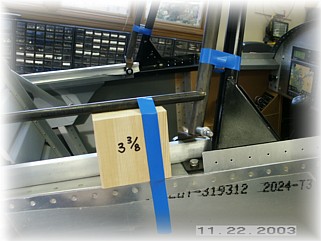
In preparation for fitting the front bow to the fuselage, I taped 9/16" spacers to the windshield bow. This will establish the correct fore and aft distance. I trial fit the bow and trimmed the feet until I got the right fit. I looked at the bow from the front to make sure that the canopy bow stood above the windshield bow an even amount all the way around. I finish bent the feet so that they rested in the rollers without any tension. When I got the right fit, I drilled the rollers to the bow and taped it into place. Next step is to fit the side rails.
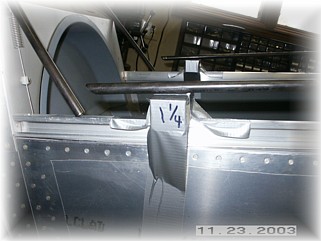
The side rails are not parallel to the canopy track, but rather the rear point is 1" lower than the front. I determined this by looking at the canopy side skirts. I cut and taped spacers in place to hold the side rails at the proper height. Note that the front spacer is sitting on top of the longeron and the rear spacer is sitting on top of the canopy rail. At this point, I tack welded the side rails to the front canopy bow. I'm now ready to mount the rear bow. That work can be found on the next page. |
||
|
"Real
knowledge is to know the extent of one's ignorance." |