|
|
| Home-->F1 Rocket Project-->Rig/Final Assembly Page 4 |
|
SITE CONTENTS
Please send your comments and suggestions to:
Copyright © 2002-2005 by
|
Links
on this page: Center Console |
|
|
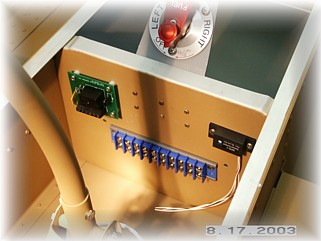
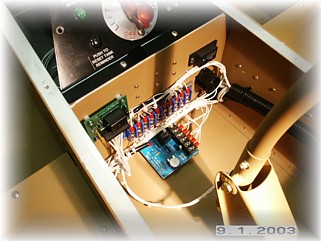
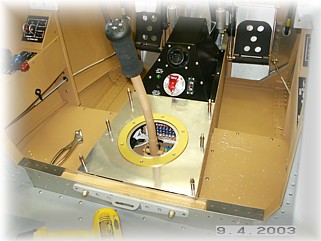
In the stick bay, I intend to install some of my smaller electrical components. What you see here are the flap control board, trim motor speed controller, and terminal strip for the wires coming out of the control stick. I still need to add the timer control board and the tank reminder chime unit. I'll talk more about that in a minute. I started by making a angled front panel that goes over the bracket for the fuel valve. I plan to install the pilot's air vent in this panel.
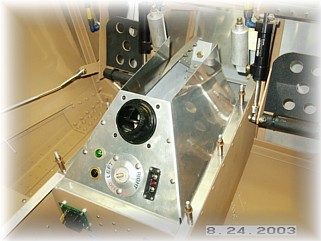
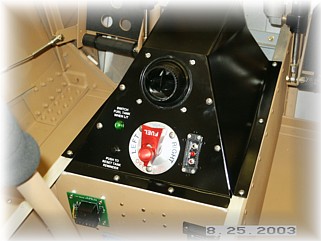
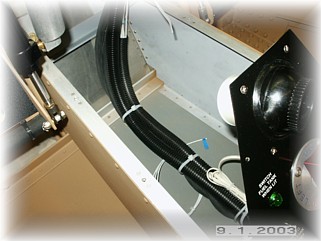
I then made some angled panels to cover the sides back to the brake master cylinders. Here is what the panels look all painted and finished. On the left is a push button and a green light. When the fuel tank timer board completes a 30 minute cycle, the light will turn on and a chime will sound. That will remind me to switch tanks. When I push the reset button, the timer cycle starts over again. To the right of the fuel valve, I mounted the ELT indicator. This seemed like an okay place to put it since I had the space.
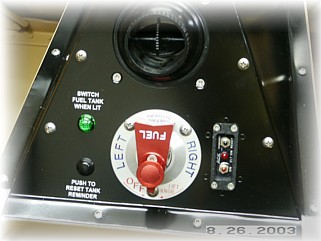
Here's a close up picture of the panel.
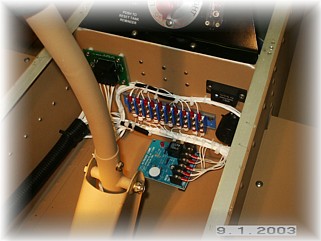
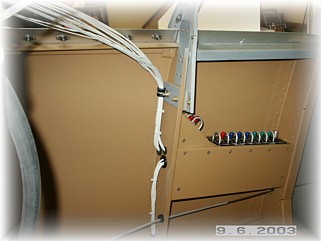
Here are all the small electrical components for the flaps, trim motors, and fuel tank switch timer circuit. I used this bay as a major junction point for the wiring. I ran the two major bundles from the fuselage forward, one on each side. I then split out the wires left, right, and center. All of the wires needs for the trim systems, control stick, and flaps terminated here.
On the left side, I ran the headphone bundles so that I could keep them away from the major power wires. That is to reduce the likelihood of noise in my headsets. On the right side, I ran the power wires to the major switch panel.
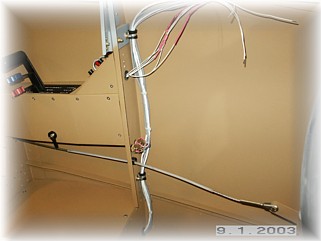
Forward, I ran the battery cables and the two wire bundles containing the rest of the fuselage wires. I used some Clickbond fasteners in the center to hold the wires down. I'm trying to leave plenty of room for the fuel pump and all the associated plumbing that goes with the fuel selector and pump.
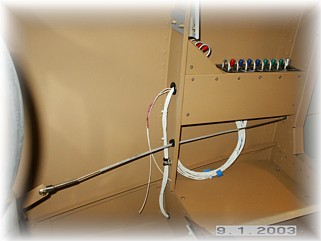
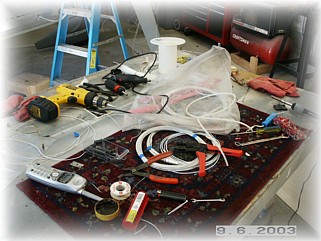
This is what my work area looks like when I'm in a wiring frenzy. I've got tools, wire, and stuff everywhere. To get the switch panel wired, I used a couple of Clickbond fasteners up against the ribs so that I could run a loop of wire. This gives me some extra wire to play with should I ever need it.
Here's another shot of the right side instrument panel rib. I ran the outbound wires through another couple of grommets and up where they will be routed forward along the fuselage side. I don't intend to run the wires any further at this point until I get the radios and instruments installed in the panel. I will then place the various electrical gear like regulators, fuse blocks, etc, in and around the open spaces in between.
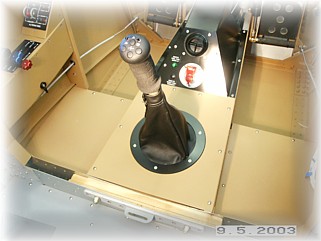
I fabricated a closeout panel for the stick bay and ordered a trim ring and stick boot from Bob Gross. Once it arrived, I mounted everything, installed the associated nut plates, painted and completed the final assembly. Next, I'll mount the throttle cable support bracket. That work begins on the next page. |
||
|
|
||
|
"I would recommend a solo flight to all prospective suicides. It tends to make clear the issue of whether one enjoys being alive or not." - T. H. White |