|
|
| Home-->F1 Rocket Project-->Rudder Page 3 |
|
SITE CONTENTS
Please send your comments and suggestions to: Copyright
© 2002-2005 by |
Links
on this page: Attach Counterweight Bottom Fairing Top Fairing |
|
|
Attach Counterweight
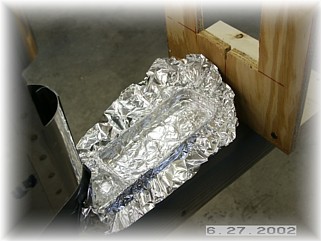
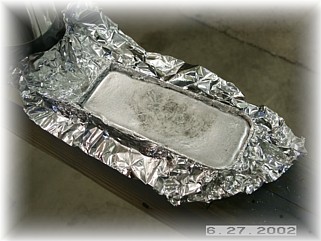
Next step is to pour, clean, and attach a counterweight for the rudder. You can buy pre-formed ones from Van's Aircraft if you like. I happen to have some lead laying around the ship so I just poured my own. The weight needs to weigh about 830 grams. I lined the bottom side of the counterweight arm with aluminum foil to make a mold.
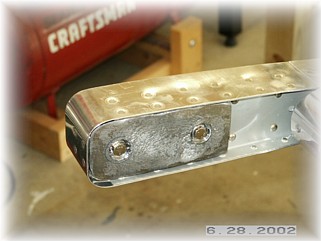
After melting some lead in an old frying pan, I carefully poured it into the mold and let it cool. After prying it from the rudder, I cleaned up the edges with a file, drilled some attach holes, and mounted the weight with some -3 bolts and some AN970-3 washers. I also recessed the heads in the lead so they won't catch on the skin.
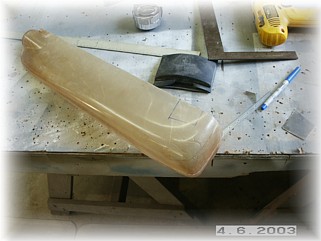
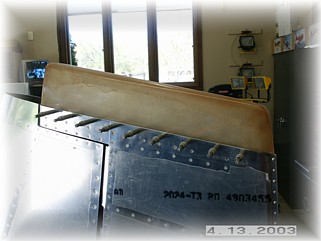
That completed work on the rudder for now. I will attach the fiberglass tips later when the rest of the kit arrives from Texas.
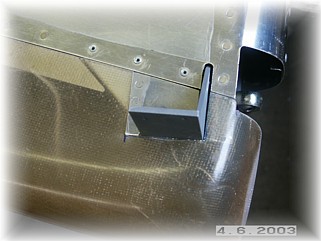
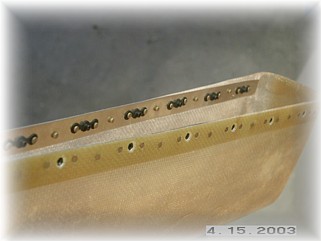
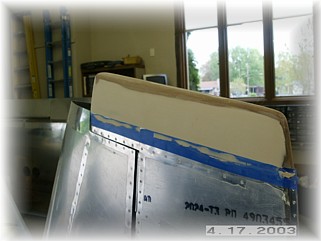
The first step in fitting the fairing is to trim the opening to go around my metal spacer and the rudder horn. I also sanded the edge of the fairing to get a nice even and straight line.
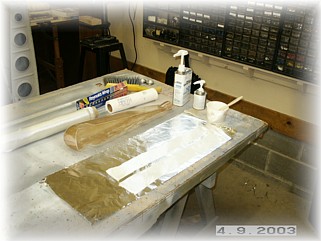
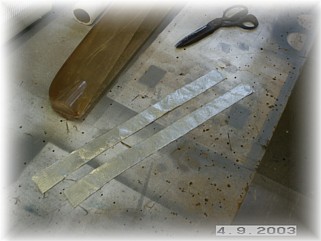
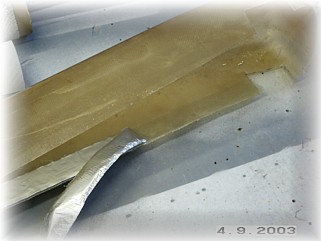
My preferred method for attaching fairings is to mount them with #4 countersunk stainless screws. They are small and hardly noticeable. I also think they make for a better finished look too. The bottom fairing is too thin to countersink so I reinforced it with two layers of fiberglass. The trick to making these layups easy and without a big mess is to first layup the cloth on some aluminum foil. Once the cloth was wetted with epoxy, I used my old fiberglassing scissors to trim the layups to about 3" wide strips.
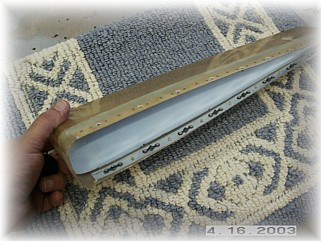
It is then easy to place the strip in position and carefully peel off the aluminum foil. This puts the strip right where you want it without it getting out of shape on you. While I had the fairing off, I decided to go ahead and get it ready for final paint my filling the pin holes with spot putty. For the most part you just have to smear spot putty over the whole part about two or three times to get all the holes filled. It took me three times on this one to get them all.
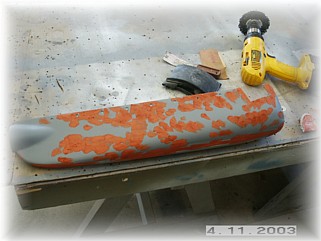
To hold the tail light in place, I used some JB Weld to hold the nuts in place. I screwed them down and let it set overnight. The next day, I reassembled everything and that finished that. Now it is ready for final paint.
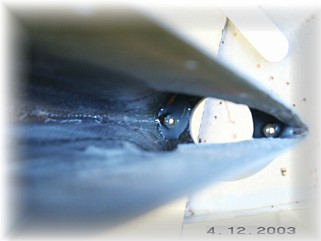
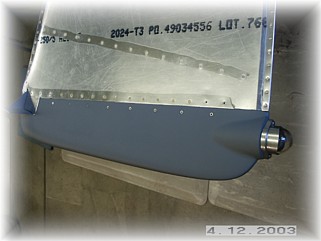
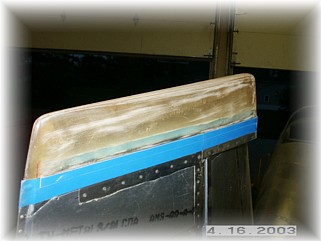
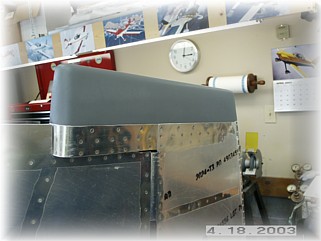
The top fairing is made without a flange so, as the instructions point out, you have a couple of ways of mounting it. I don't like the option that requires you to rivet a metal flange to the rudder and then rivet the flange to the fairing. Why have two rows of rivets when one is all you need? My preferred method is to mount the part with #4 screws and nutplates and then create a flange with filler. First step is to drill the fairing to the rudder skin. Then over on the bench, rivet on a strip of aluminum and the nutplates.
Next, I inserted a blue foam rib into the fairing so that it will hold its shape and force the sides of the fairing up against the sides of the rudder skin. I then apply some fine line tape (3M) to the backside edge of the aluminum. I carefully insert the fairing and screw it down in place. I then fold the tape down the side of the skin. I added an extra row of tape to protect it from scratching. The key here is to cover the aluminum, including the top edge, from damage and from what comes next. I scuffed up the fiberglass so that the filler will adhere.
I mixed up a very dry mix of microballons and carefully slathered it over the part. The dryer the mix the better because that will make it easier to sand. Just cover the low spots. After a day to let it set up, I used some #80 sandpaper and a sanding block to square it up and sand it smooth. Be careful to not sand through the tape.
I then removed the tape and the screws and took the part over to my bench to finish up. After several coats of spot putty and primer, it's all finished. I do take some fine sandpaper and round off the sharp edge of the filler where it goes around the top edge of the skin. This will keep it from chipping. That completely finishes off the rudder. It is now ready for final paint. |
||
|
|
||
|
"You
will never be happy if you continue to search for what happiness consists
of. You will never live if you are looking for the meaning of life." |