
Color, Sand, and Buff
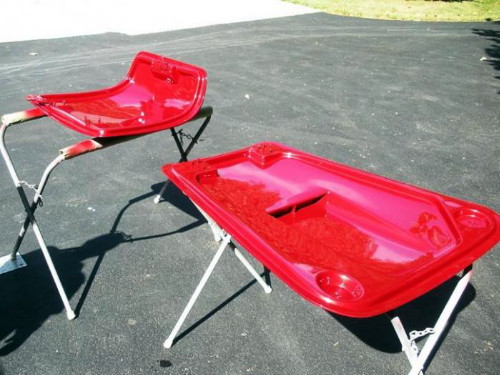
Photo courtesy of Riley
Customs, Phil Riley photographer
The hood and trunk
were painted first so we could do a color match to ensure we had the right
color.
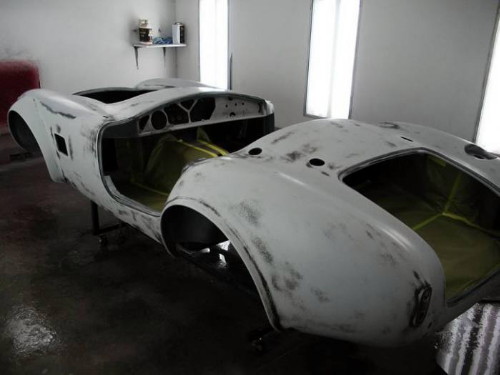
Photo courtesy of Riley
Customs, Phil Riley photographer
While the hood and
trunk are drying, the first coat of color primer is sanded smooth.
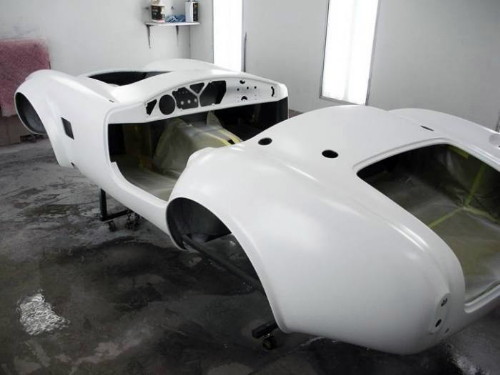
Photo courtesy of Riley
Customs, Phil Riley photographer
Final coat of color
primer applied. Ready for the real thing now.
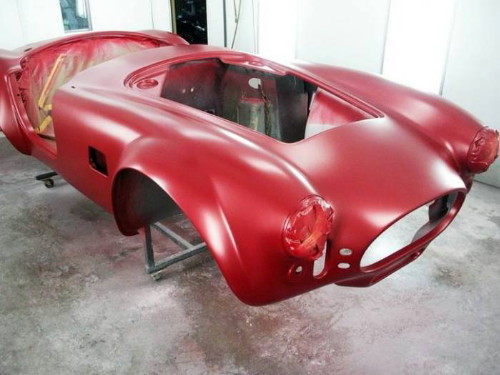
Photo courtesy of Riley
Customs, Phil Riley photographer
Four coats of color
were applied. After painting some test patterns on black and white
paper, Phil determined that it takes four coats instead of the normal two to
provide the full depth of color.
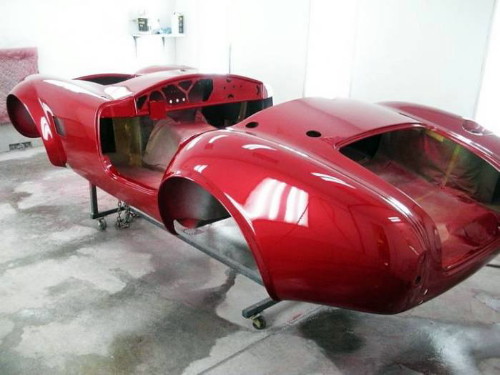
Photo courtesy of Riley
Customs, Phil Riley photographer
Four coats of clear at
this point. More to come later.
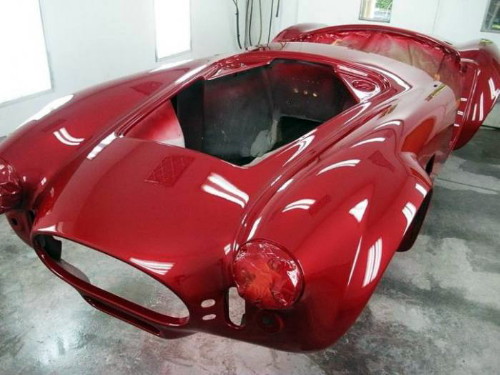
Photo courtesy of Riley
Customs, Phil Riley photographer
Another look at the
car with the first four coats of clear.

Photo courtesy of Riley
Customs, Phil Riley photographer
The clear is sanded to
provide a base for the stripes.
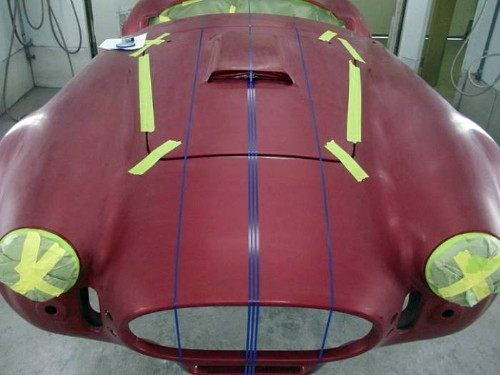
Photo courtesy of Riley
Customs, Phil Riley photographer
Laying out the
stripes.
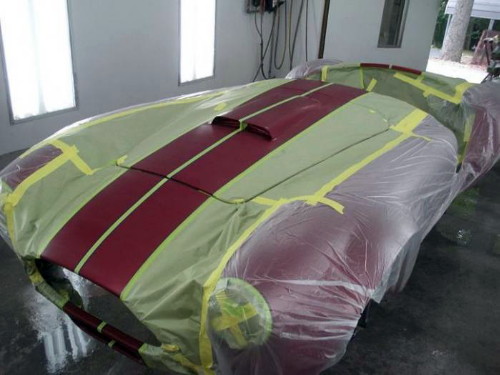
Photo courtesy of Riley
Customs, Phil Riley photographer
Ready for the ghost
stripes.
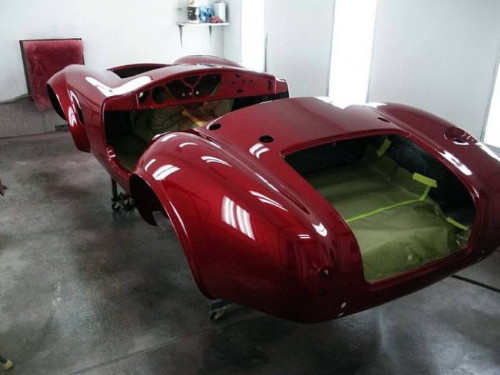
Photo courtesy of Riley
Customs, Phil Riley photographer
You can barely see the
stripes when looking at the car straight on.
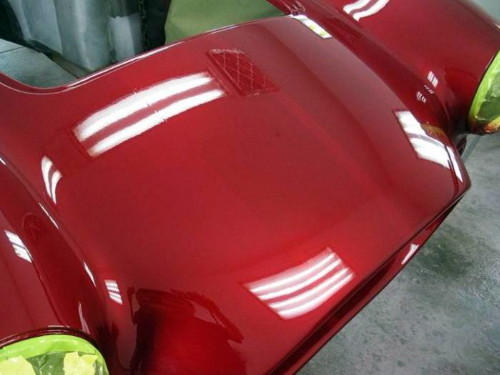
Photo courtesy of Riley
Customs, Phil Riley photographer
When you get a little
angle, the stripes start to appear.
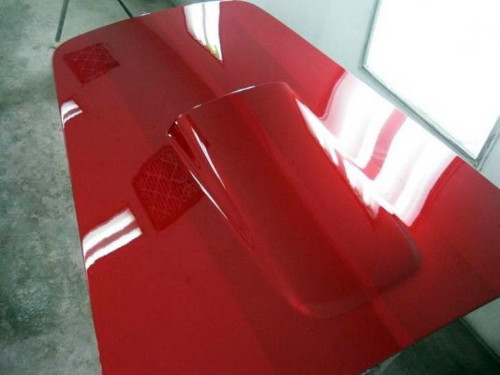
Photo courtesy of Riley
Customs, Phil Riley photographer
Once the stripes were
applied, four more coats of clear were applied.
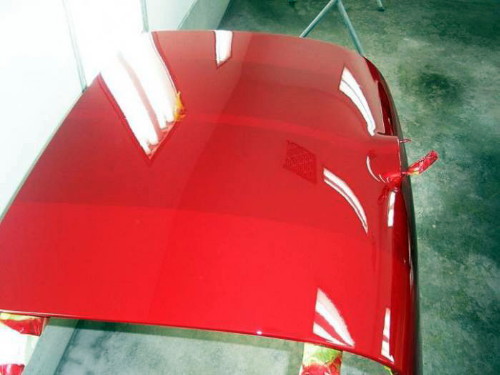
Photo courtesy of Riley
Customs, Phil Riley photographer
About one coat of
clear will be color sanded off the car, then the entire car will be buffed
back to a brilliant shine and then polished.
At this point, I can
pick up the body and bring it home. Phil is still doing some custom
art work that will take a little longer and he needs to finish up the doors
as well. I plan to bring the body home this weekend to begin final
assembly. That work begins on the next page.
| 


