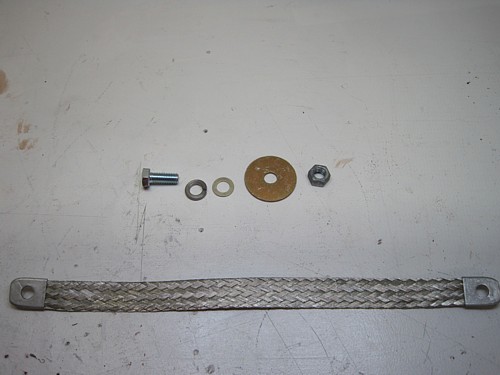
The last step on the
engine install is to attach a ground bonding strap. I ordered a braided
strap and dug through my spare hardware to come up with the mounting
hardware.

I welded a nut to the
backside of a big washer and then primed it.
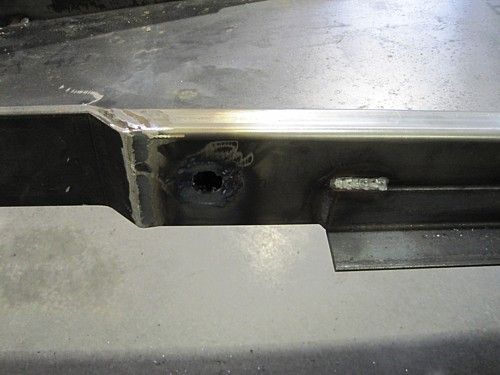
Using my torch, I cut
a hole in the side of the frame large enough for the nut to fit.

I then welded the
washer into to the frame all around and ground it down smooth. I
secured the strap with a bolt and a lock washer. The other end will
fir to one of the bolts on the bell housing.
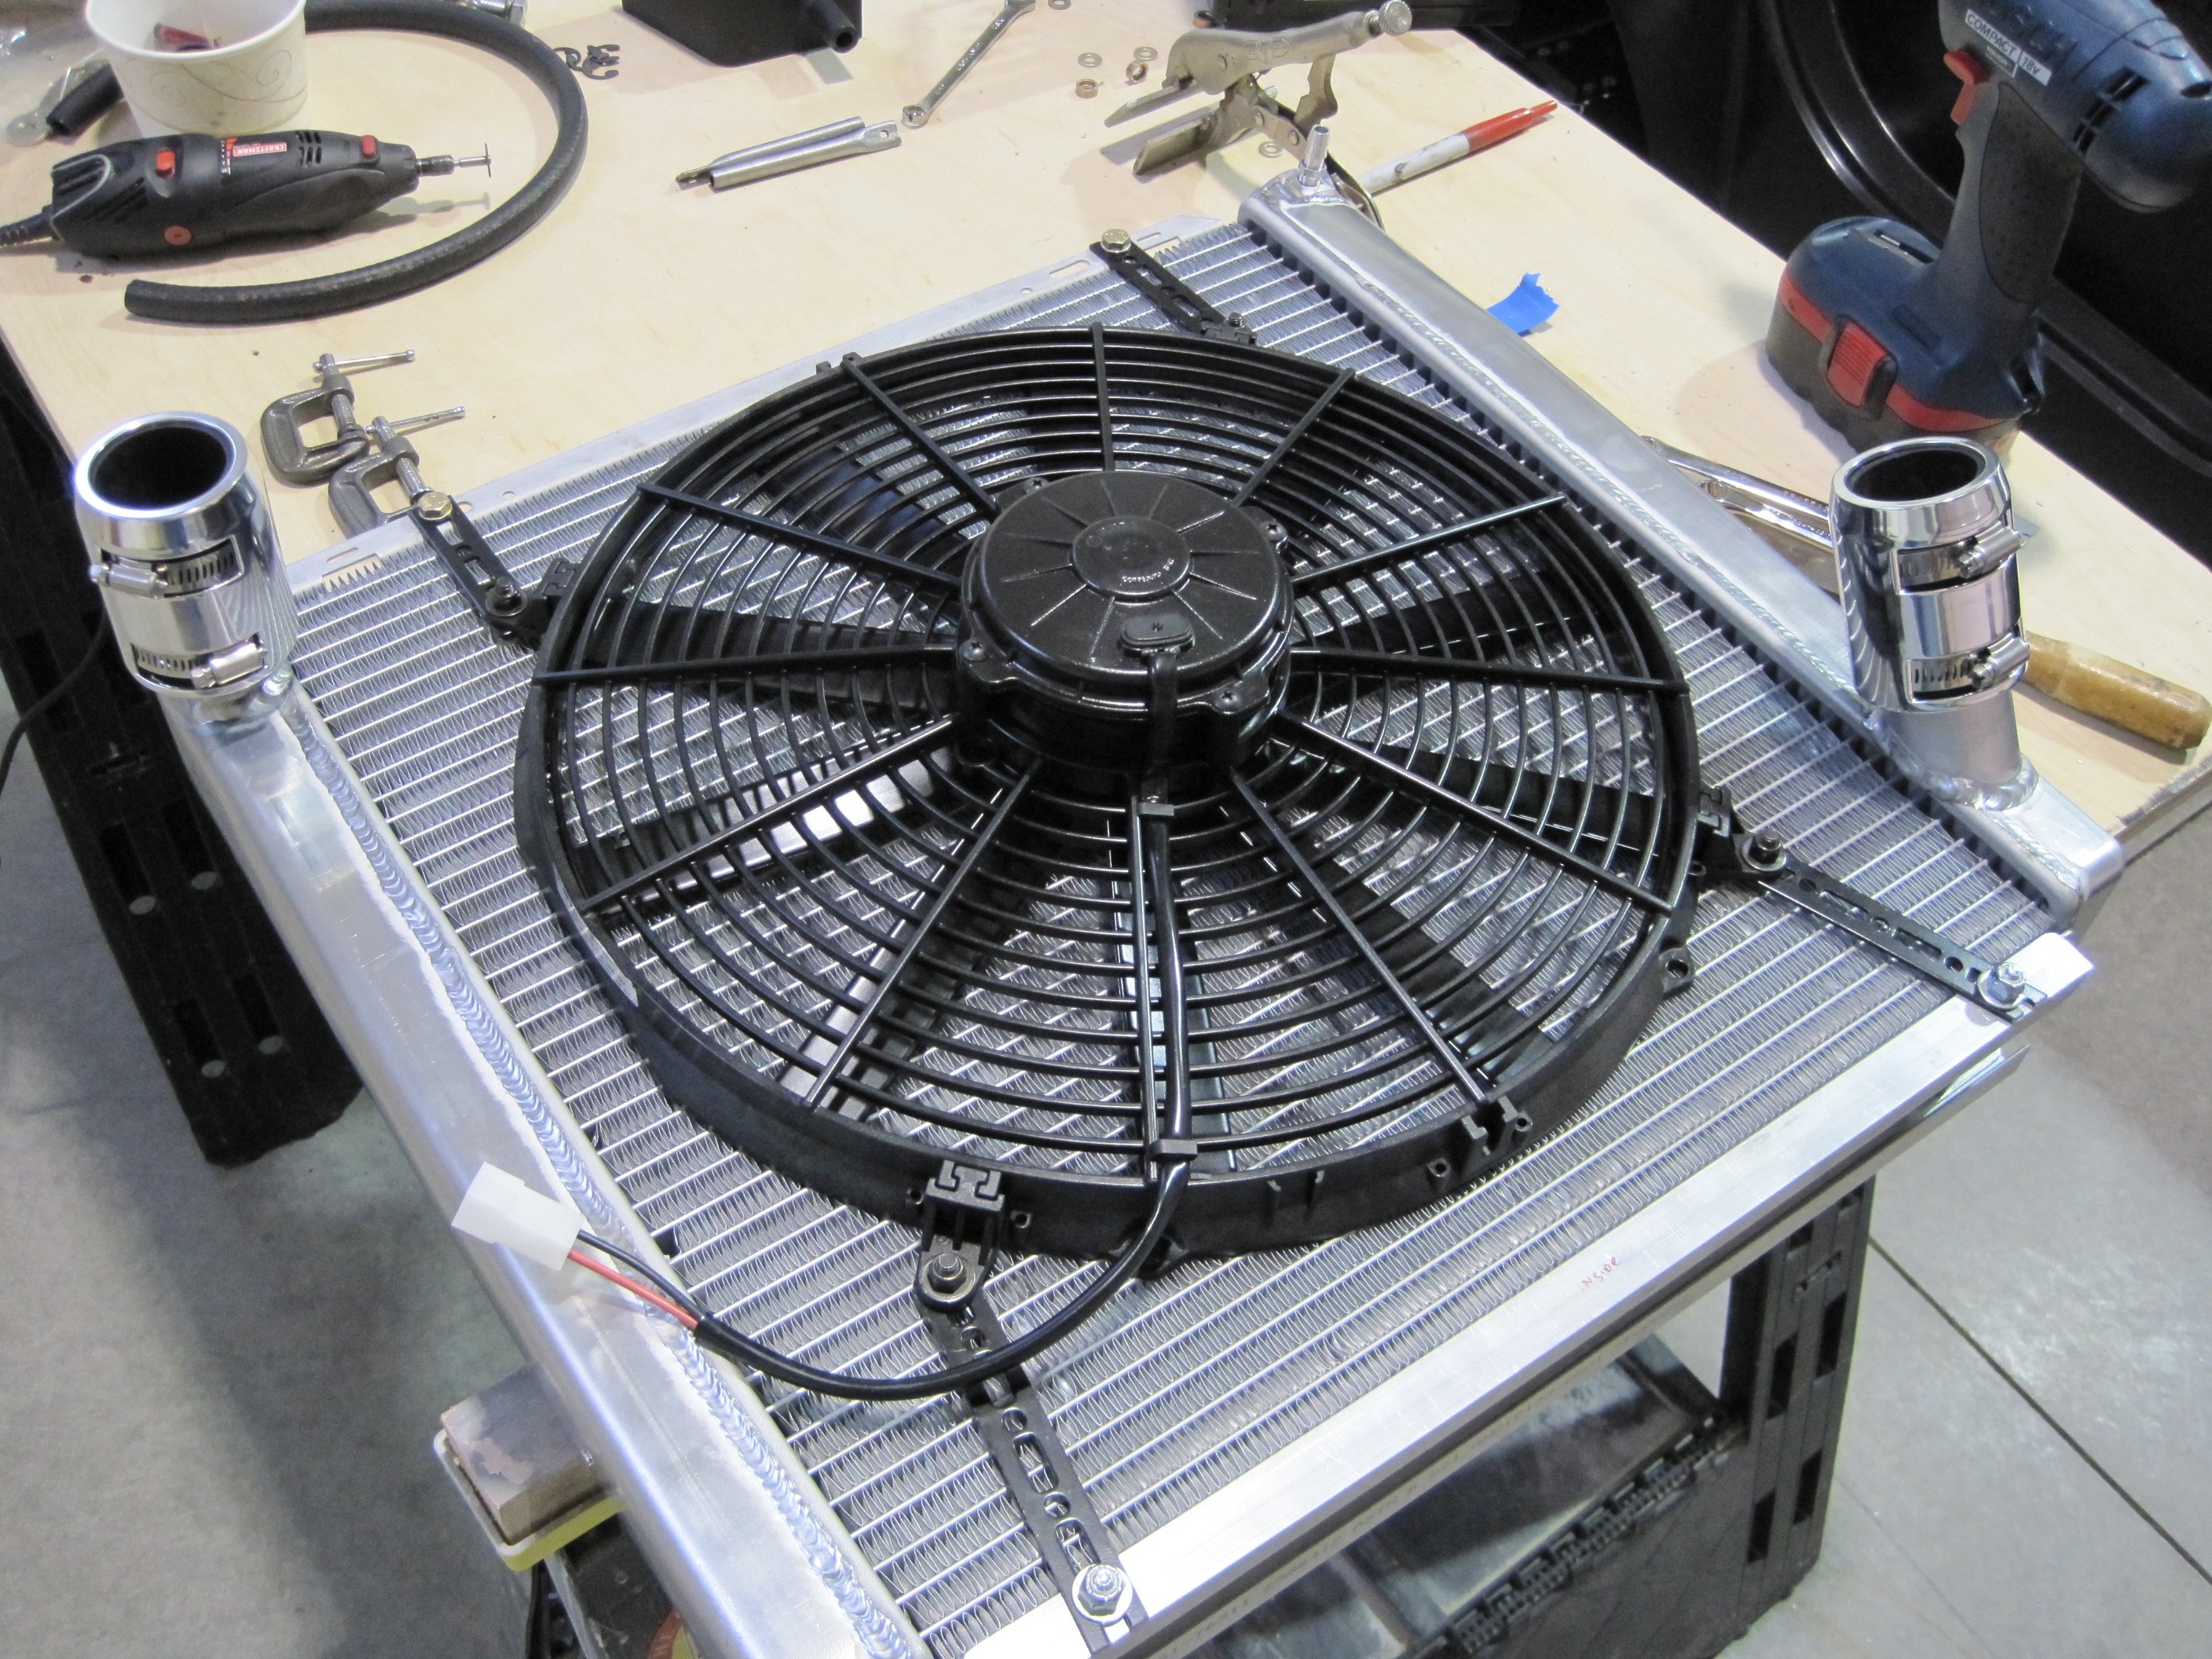
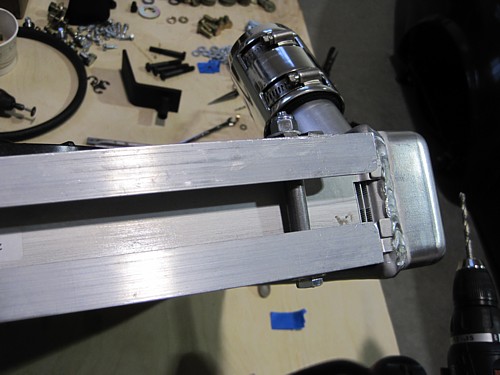
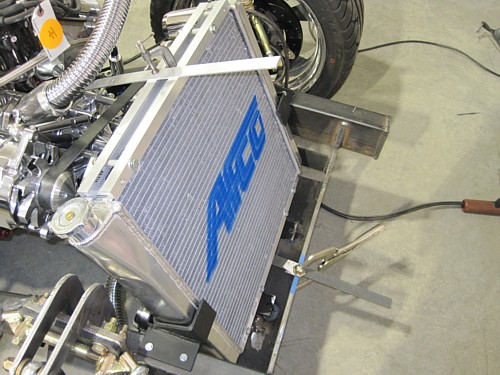
Radiator
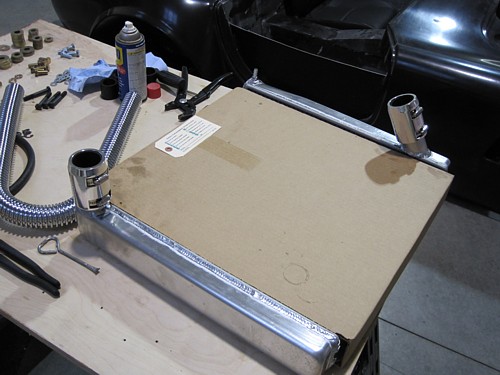
The plans are very
vague regarding the installation of the radiator. My first step was to
install the chrome tube clamps from the hose kit so their size can be
considered when locating the radiator on the frame. Others have made
the mistake of mounting the radiator too low so that once these clamps are
added, they hit the steering rack.

Next, I mounted my
cooling fan. The reason was so I could use the same mounting hardware
as is used to reinforce the bottom flange of the radiator. The
instructions for the fan say that a fan this size should be mounted a
minimum of 1/4" off the surface of the radiator to allow for flexing.
Most other builders do not do this and since I'm not racing, I chose not to
do this. You make your own decision. Lakeway Cobra (Randy) built
a nice frame that bolts up to the mounting hardware to keep his fan off the
radiator. I might do that later if the need arises.
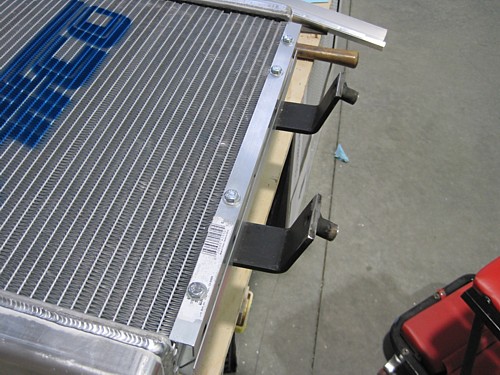
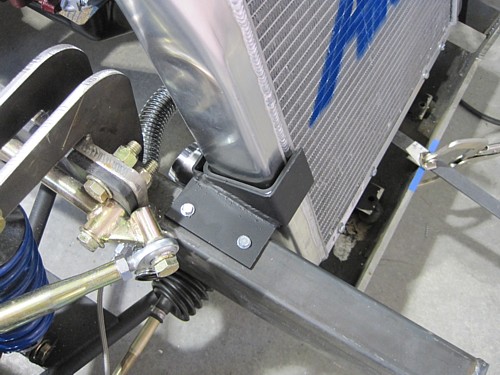
On the bottom, I used
two aluminum angles and some spacers to mount reinforce the mounting flanges
of the radiator. The radiator flange itself is too pliable to use
directly. If you mount to it directly, the flexing will eventually
crack the flange. This happens to be a common problem in airplanes as
well.
On the top flange, I
just stuck some short bolts in to hold the fan in place. This is a
temporary situation. This area will be covered by a shroud of some
sort when I get more to the finishing stages so I'm not going to worry about
the final attach design just yet. I'll leave that to later.
UPDATE:
In order to construct a stone guard for the radiator before it is installed,
I went ahead and bracketed the front flanges with aluminum angle just like
the bottom flange pictures and I used spacers and long bolts too.
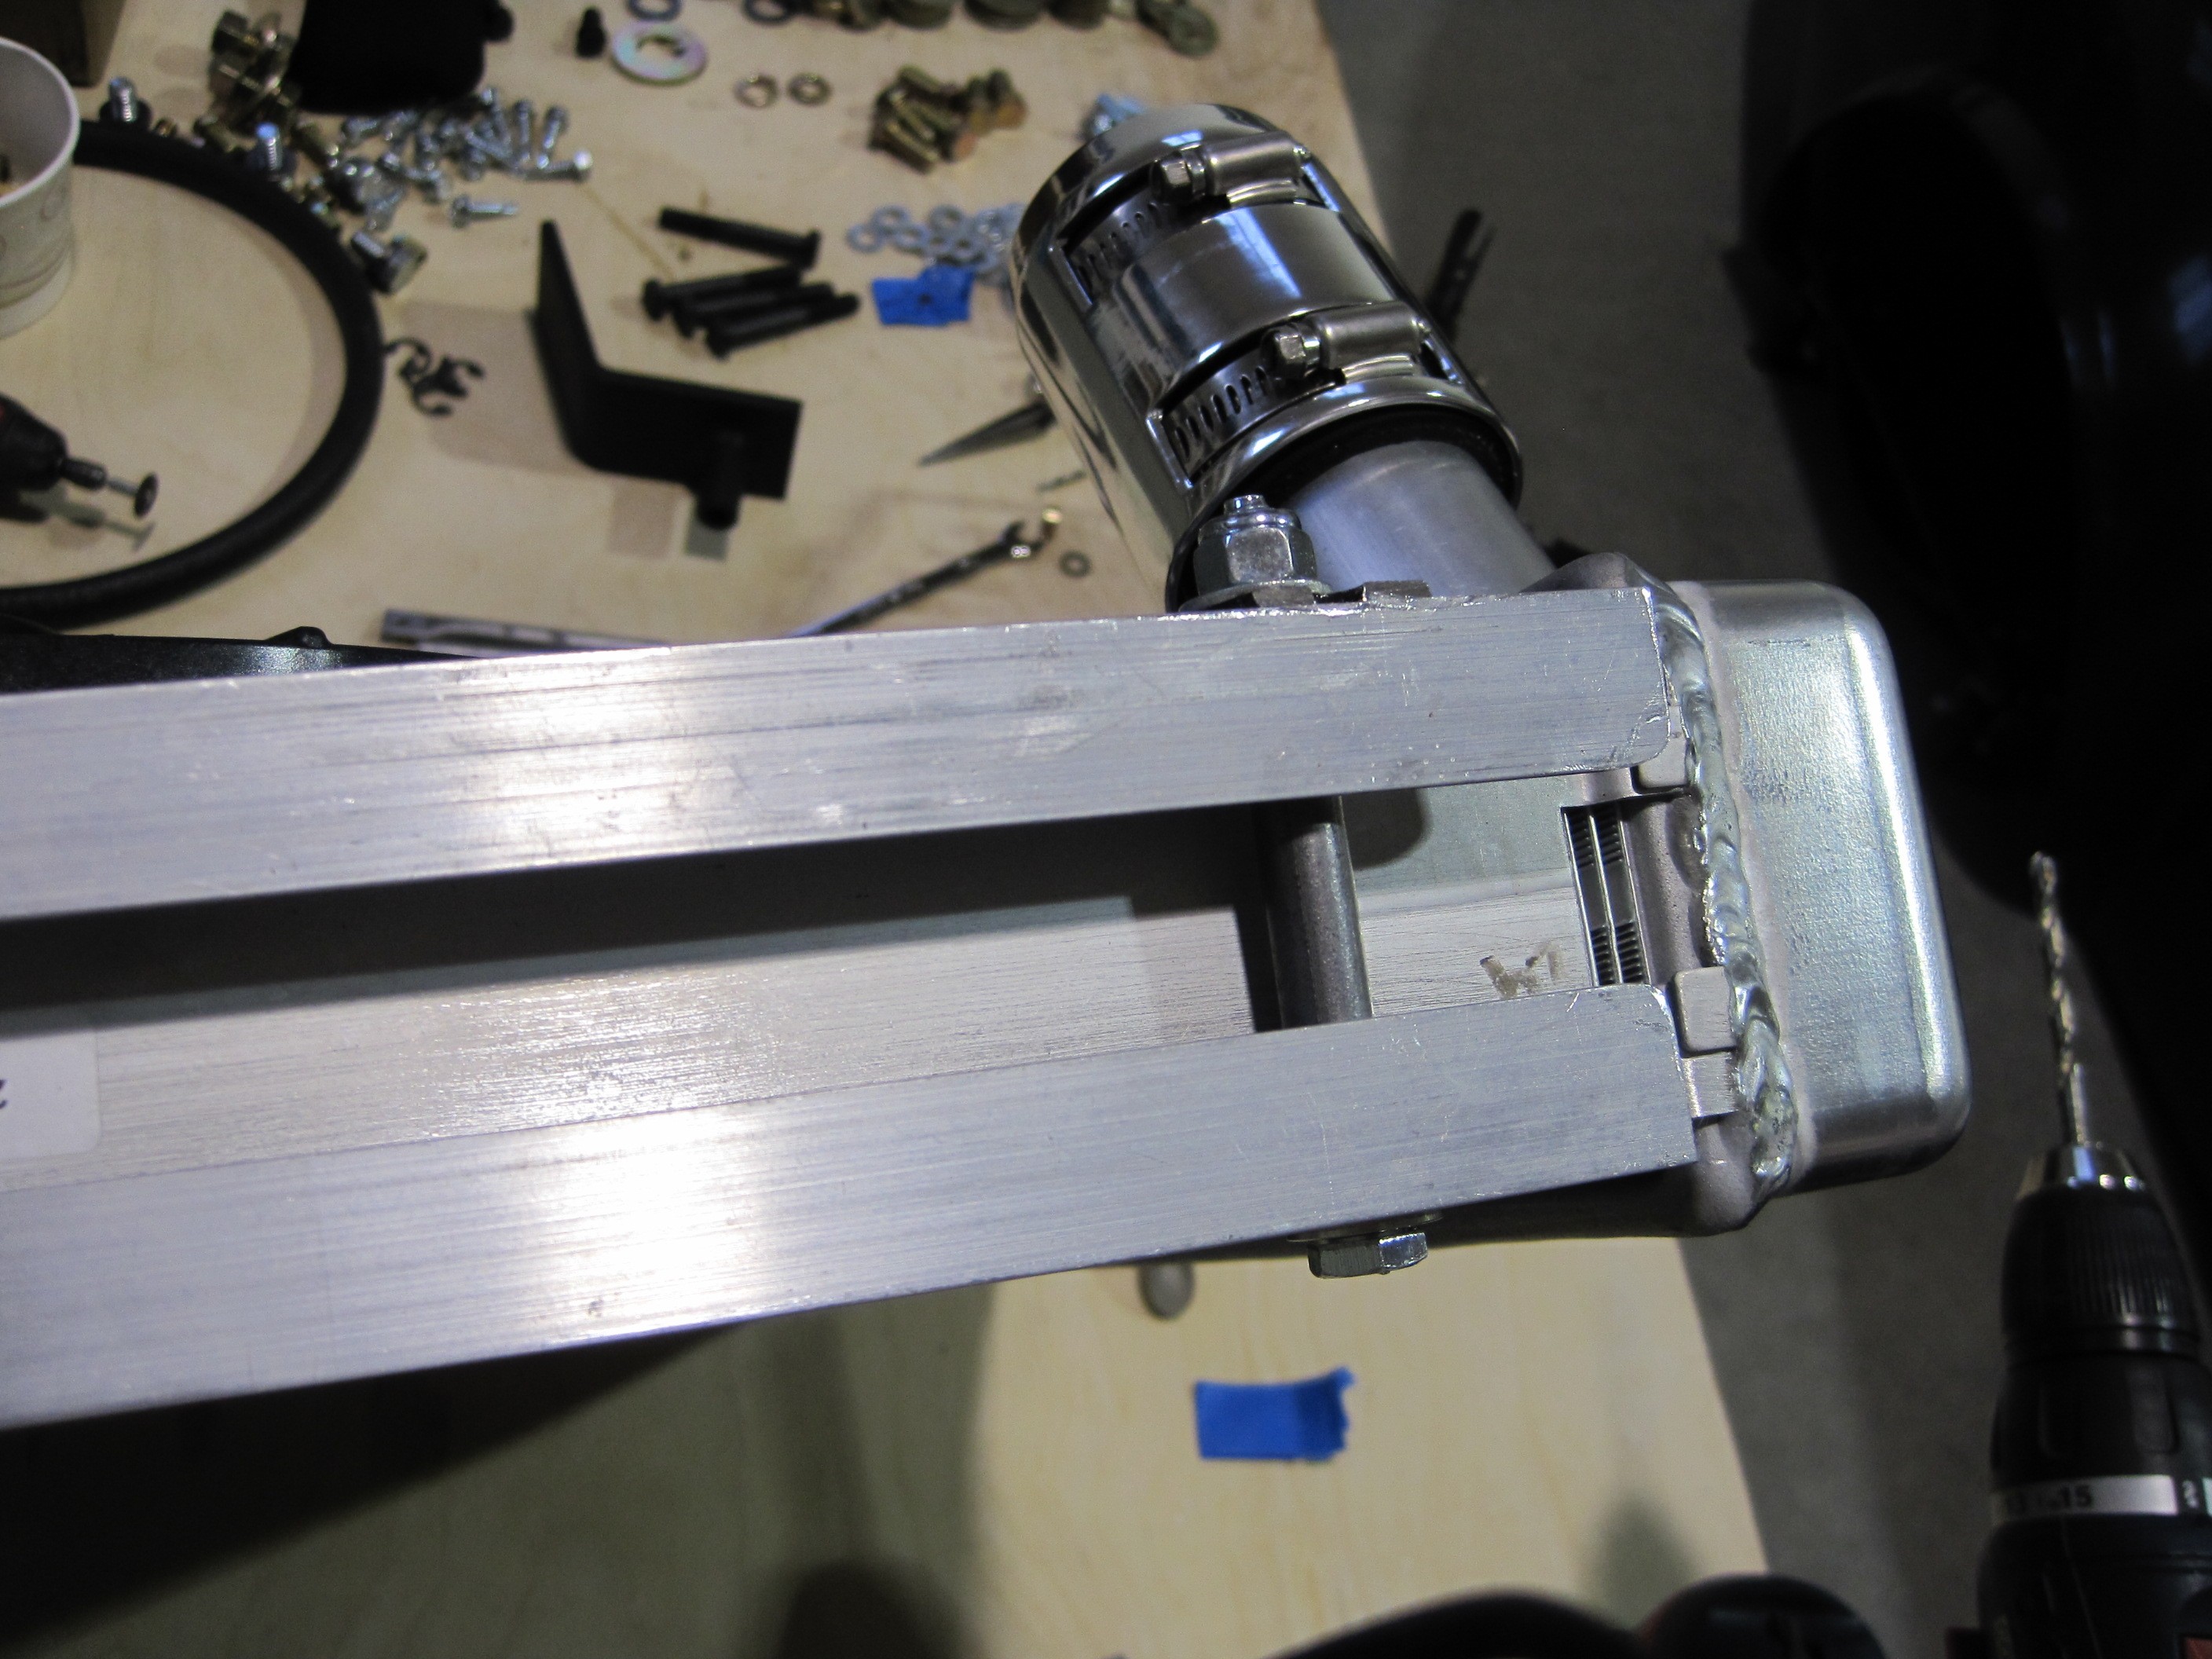
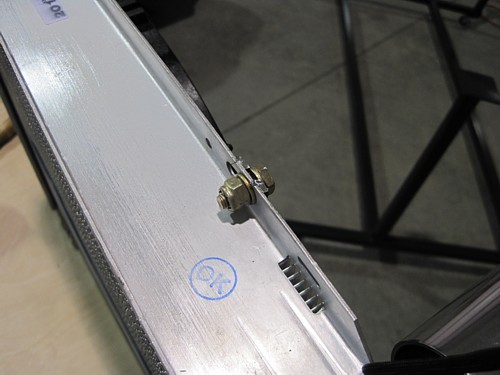
Next step is to begin
locating the radiator on the frame. There are a kazillion options here
so to simplify, I used some common measurements provided to me by other
builders and started eliminating options. First, I decided to locate
the mounting hole for the lower brackets about 1 1/2 inches aft of the
inside edge of the cross member. I also wanted the mounts to sit a tad
lower than their original length. To accomplish both, I drilled holes
in the cross member the side to the mounting tubes, stuck the tubes in the
hole, and welded the assemblies to the frame. I didn't see a need for
them to be removable.
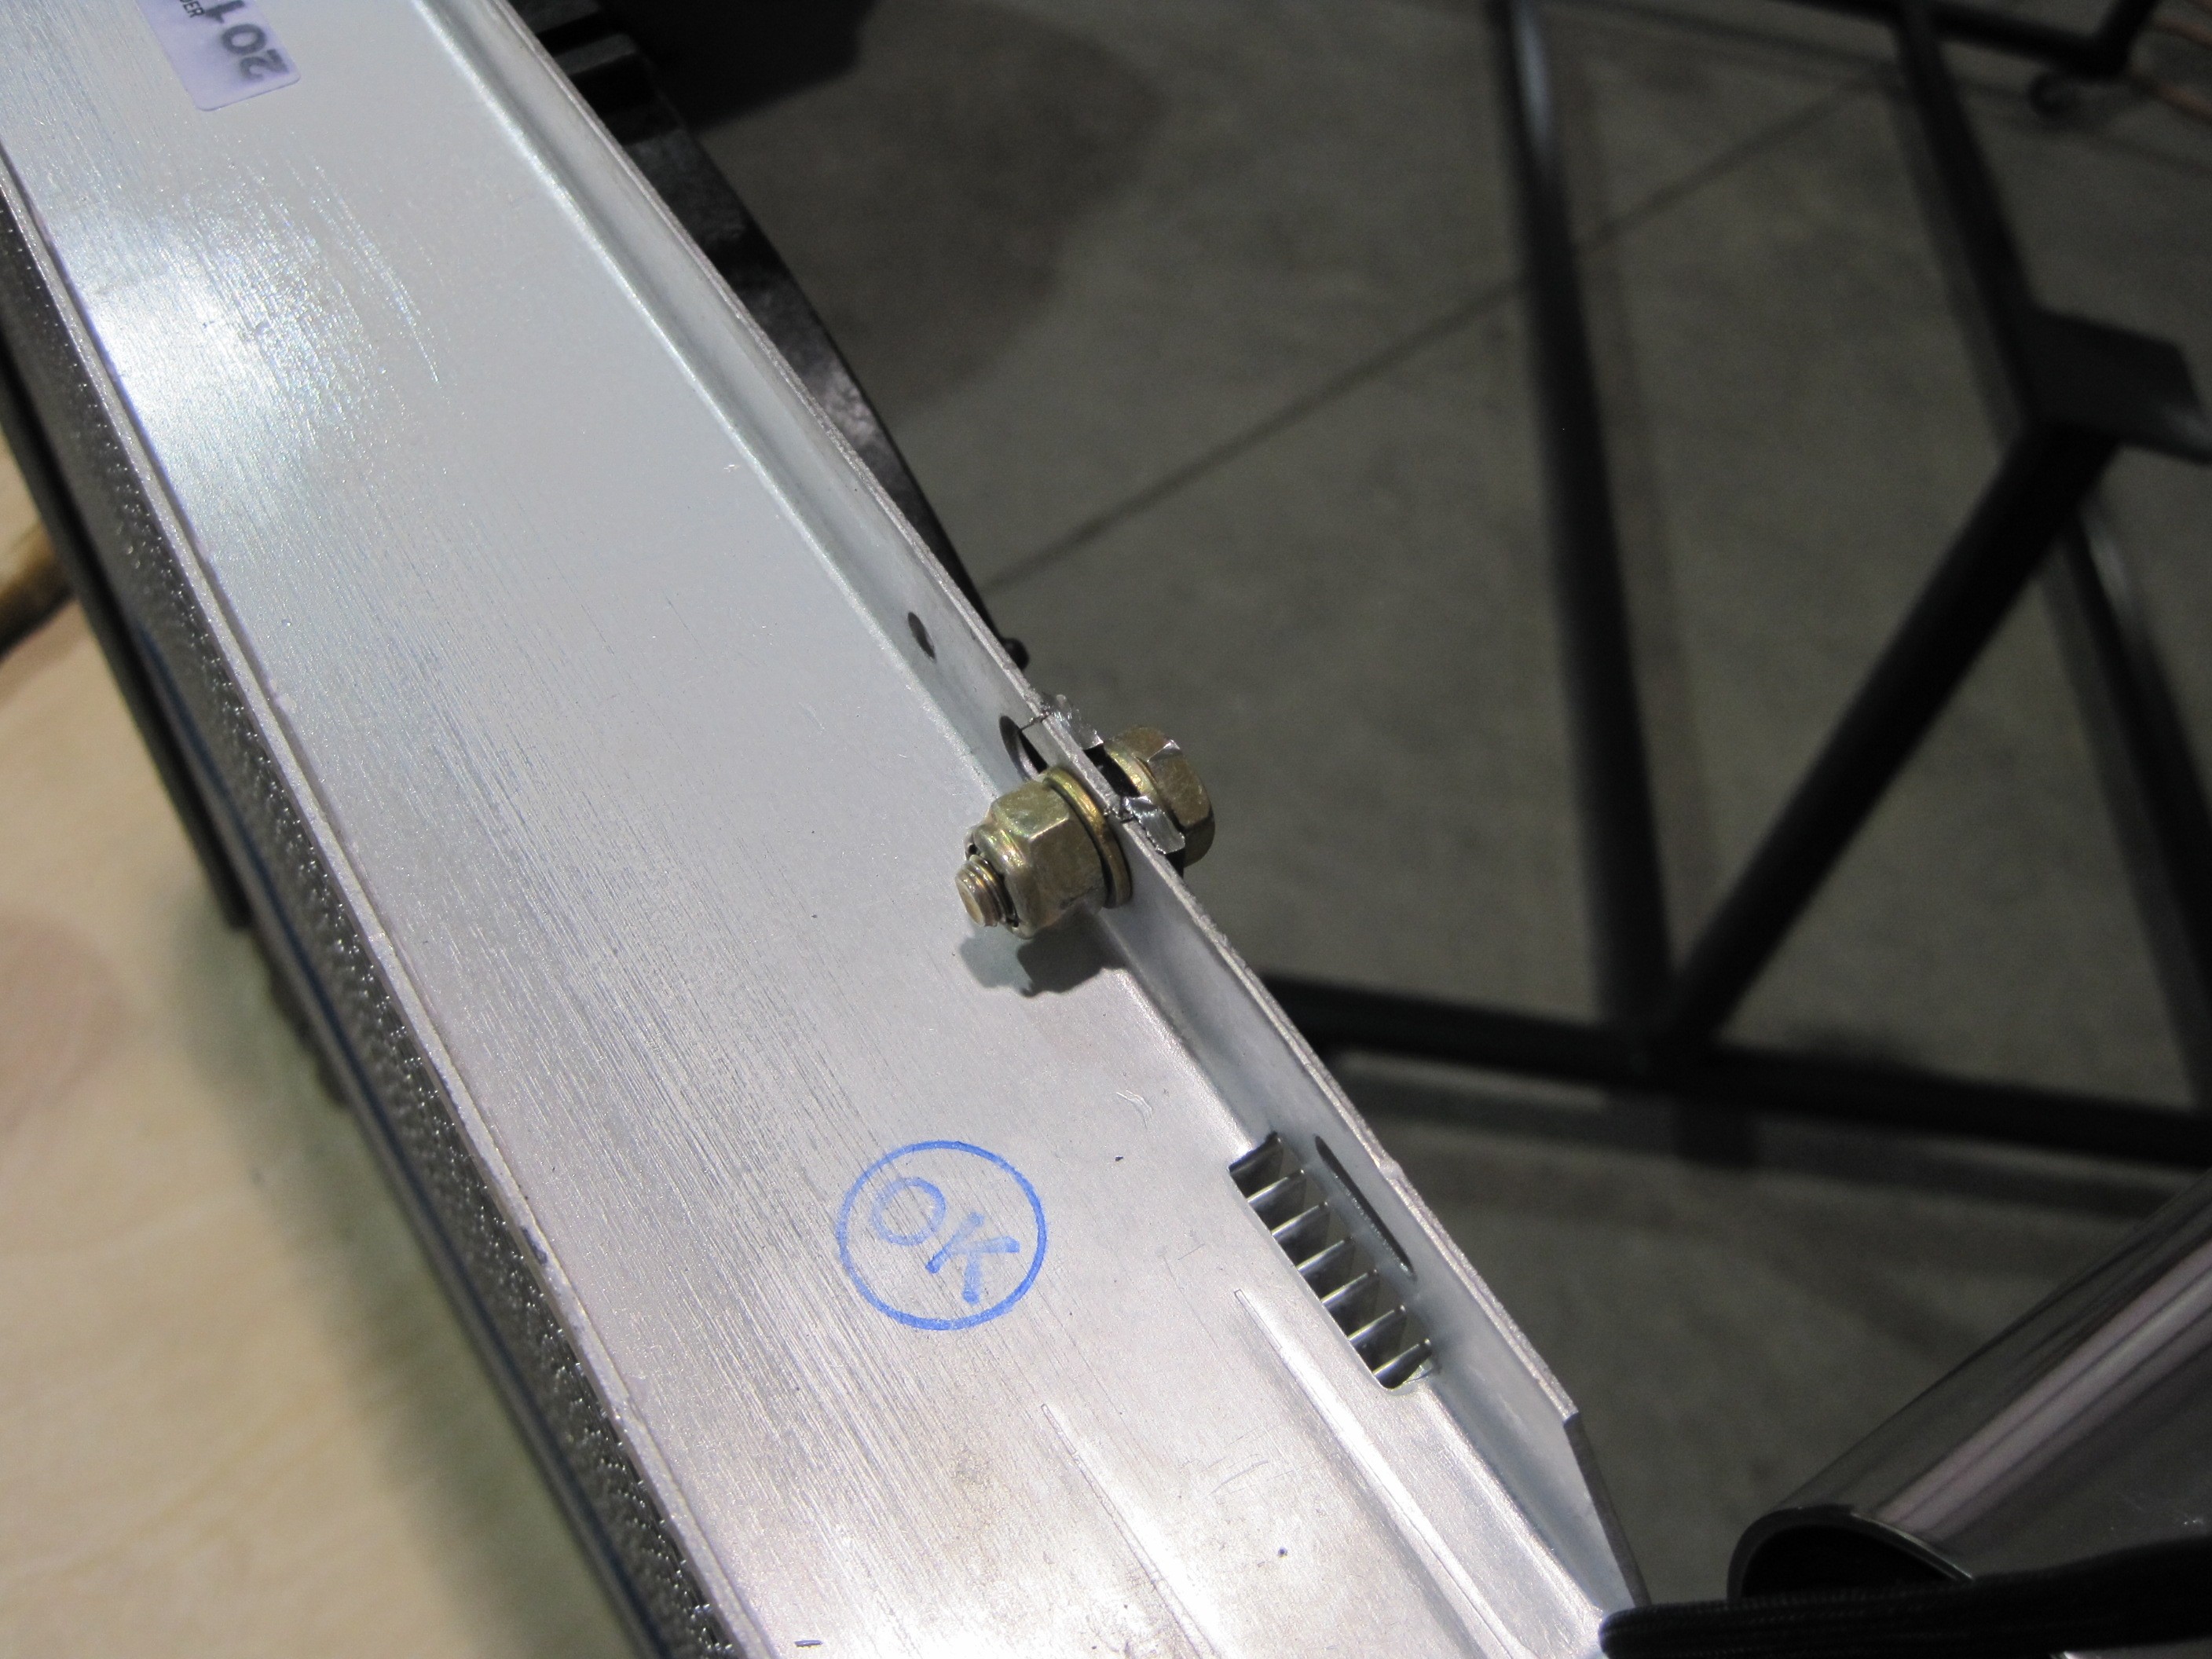
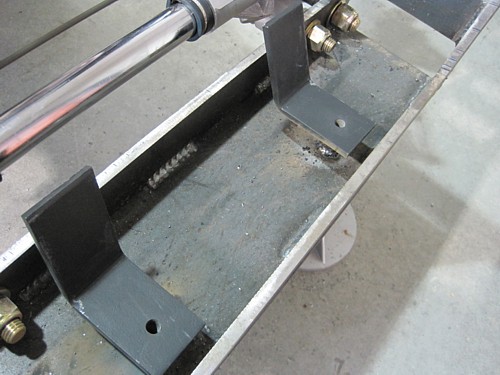
UPDATE:
Well, a lot has changed since the first pictures were posted. I cut
the brackets off the frame because I was having difficulty getting the
radiator positioned correctly. So I bolted them up to the radiator
frame and I'll weld them into the car frame after the final mounting
position is determined.
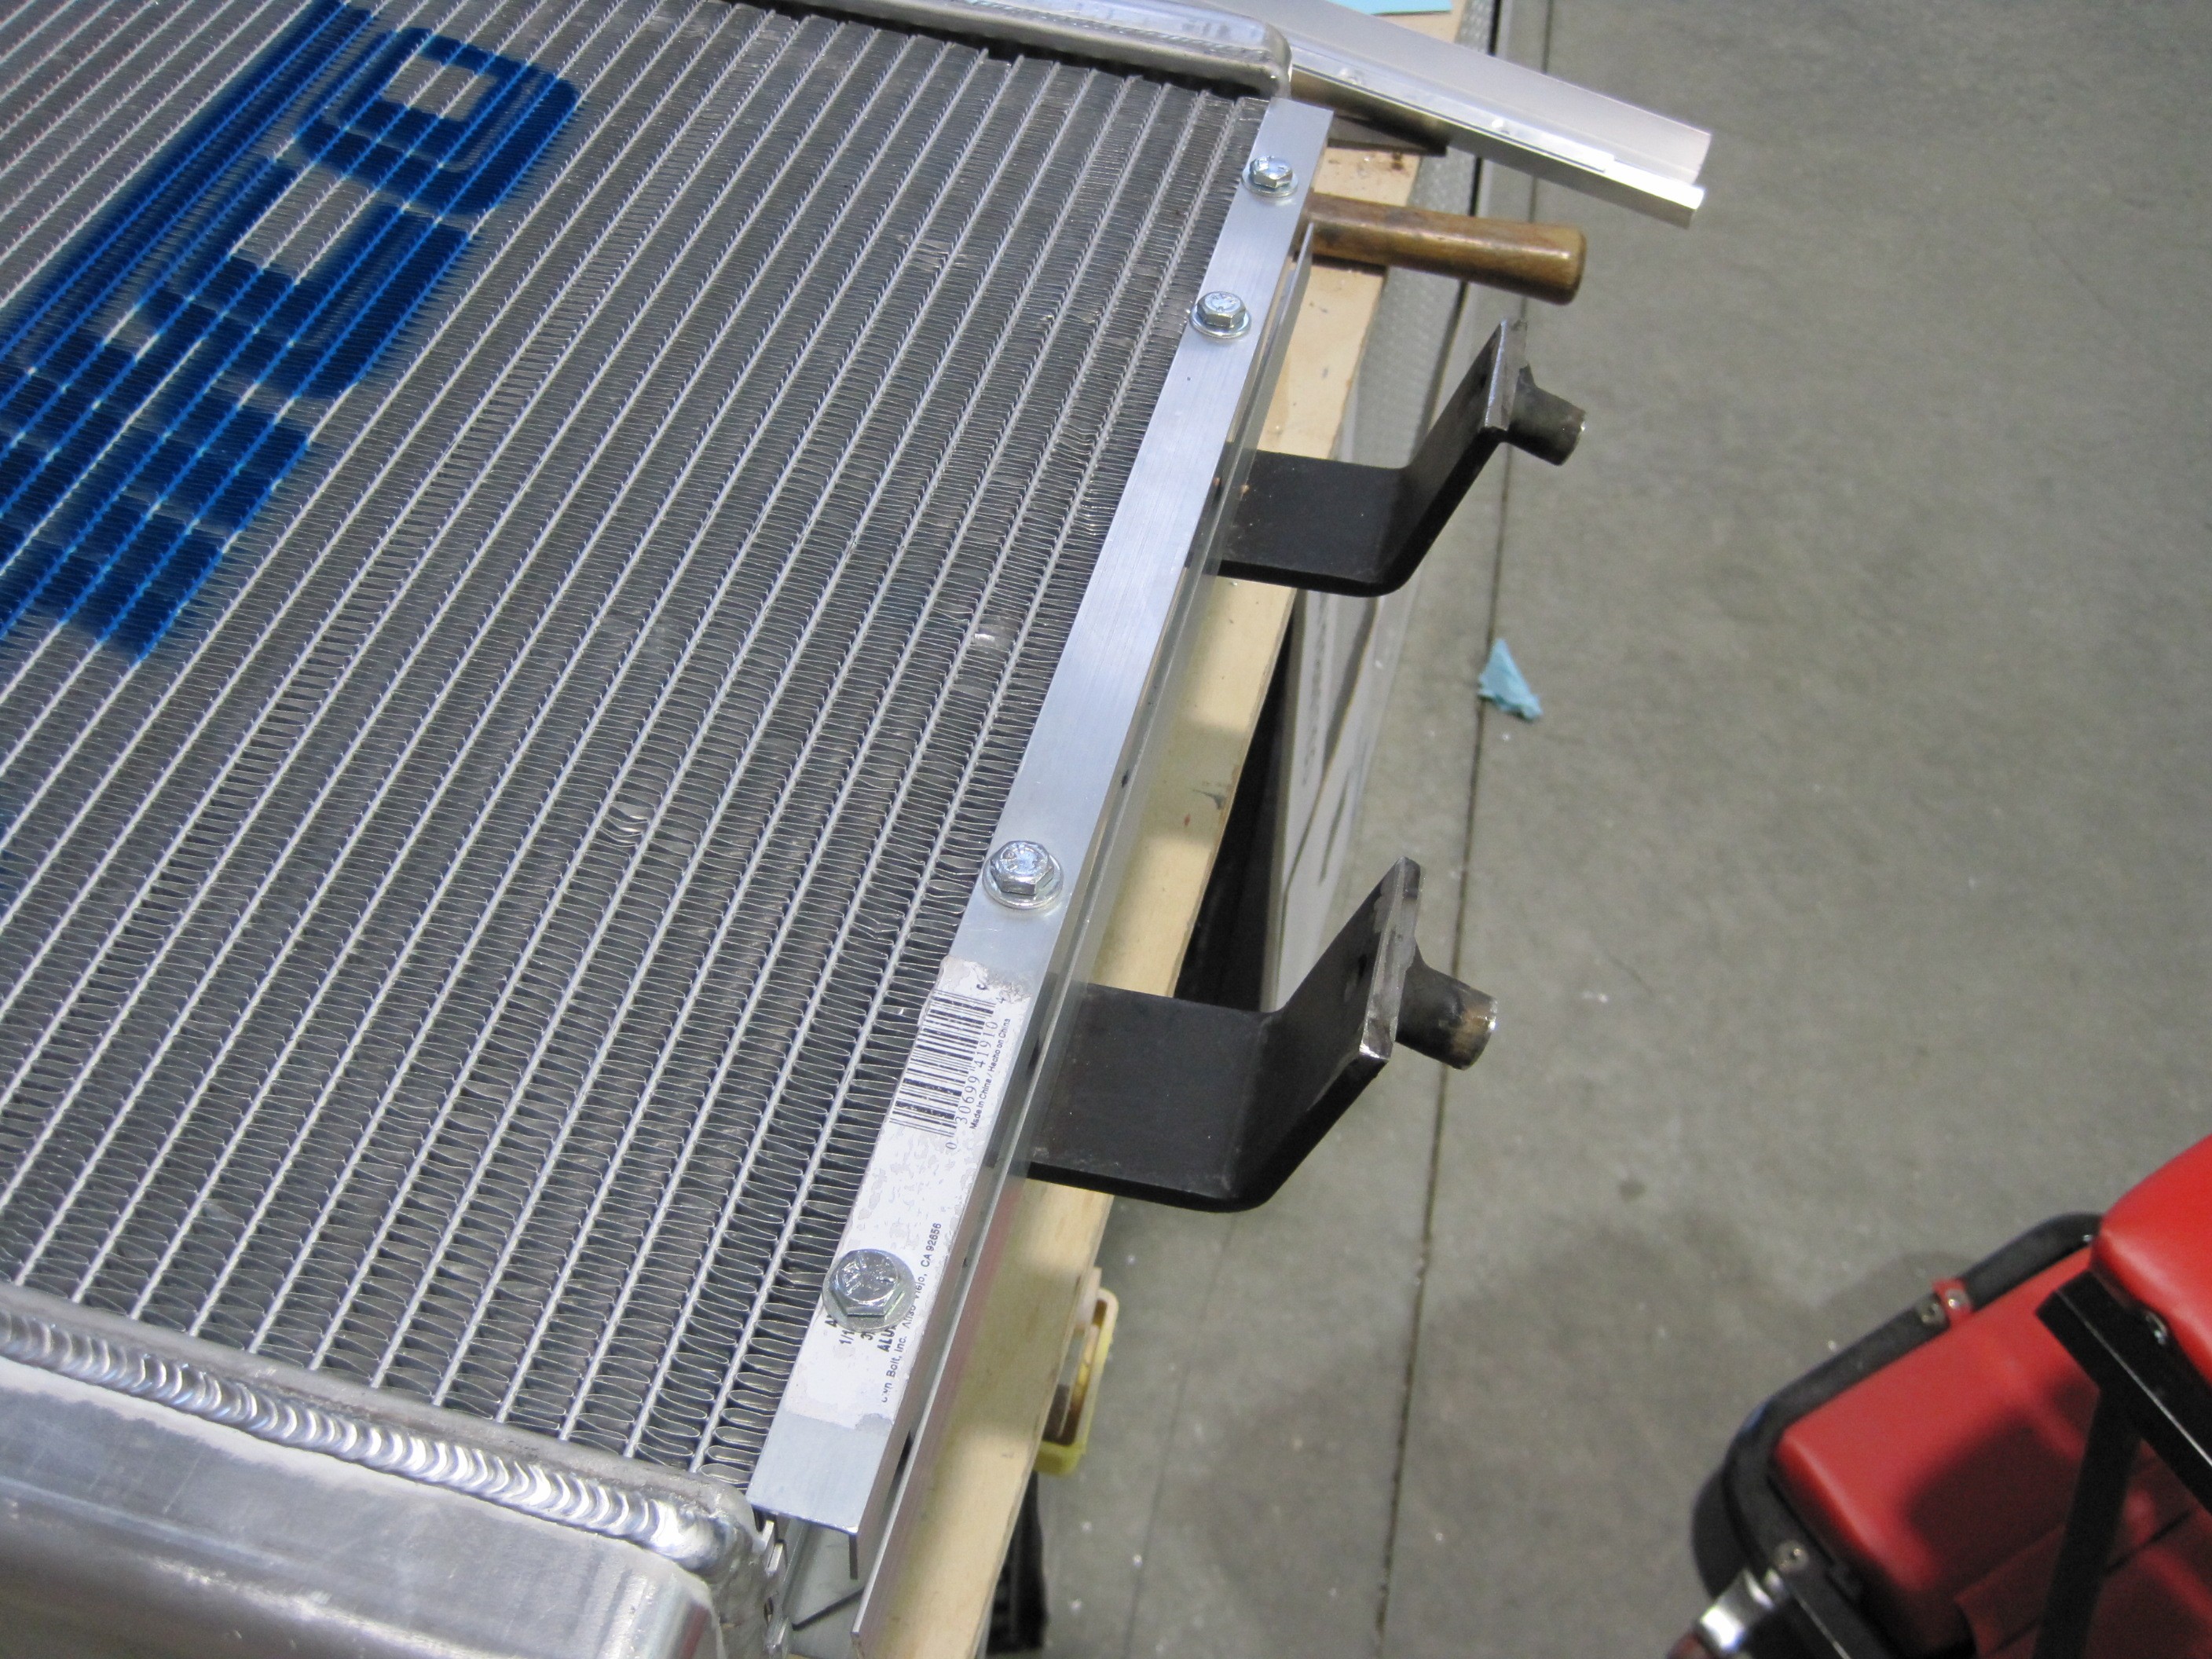
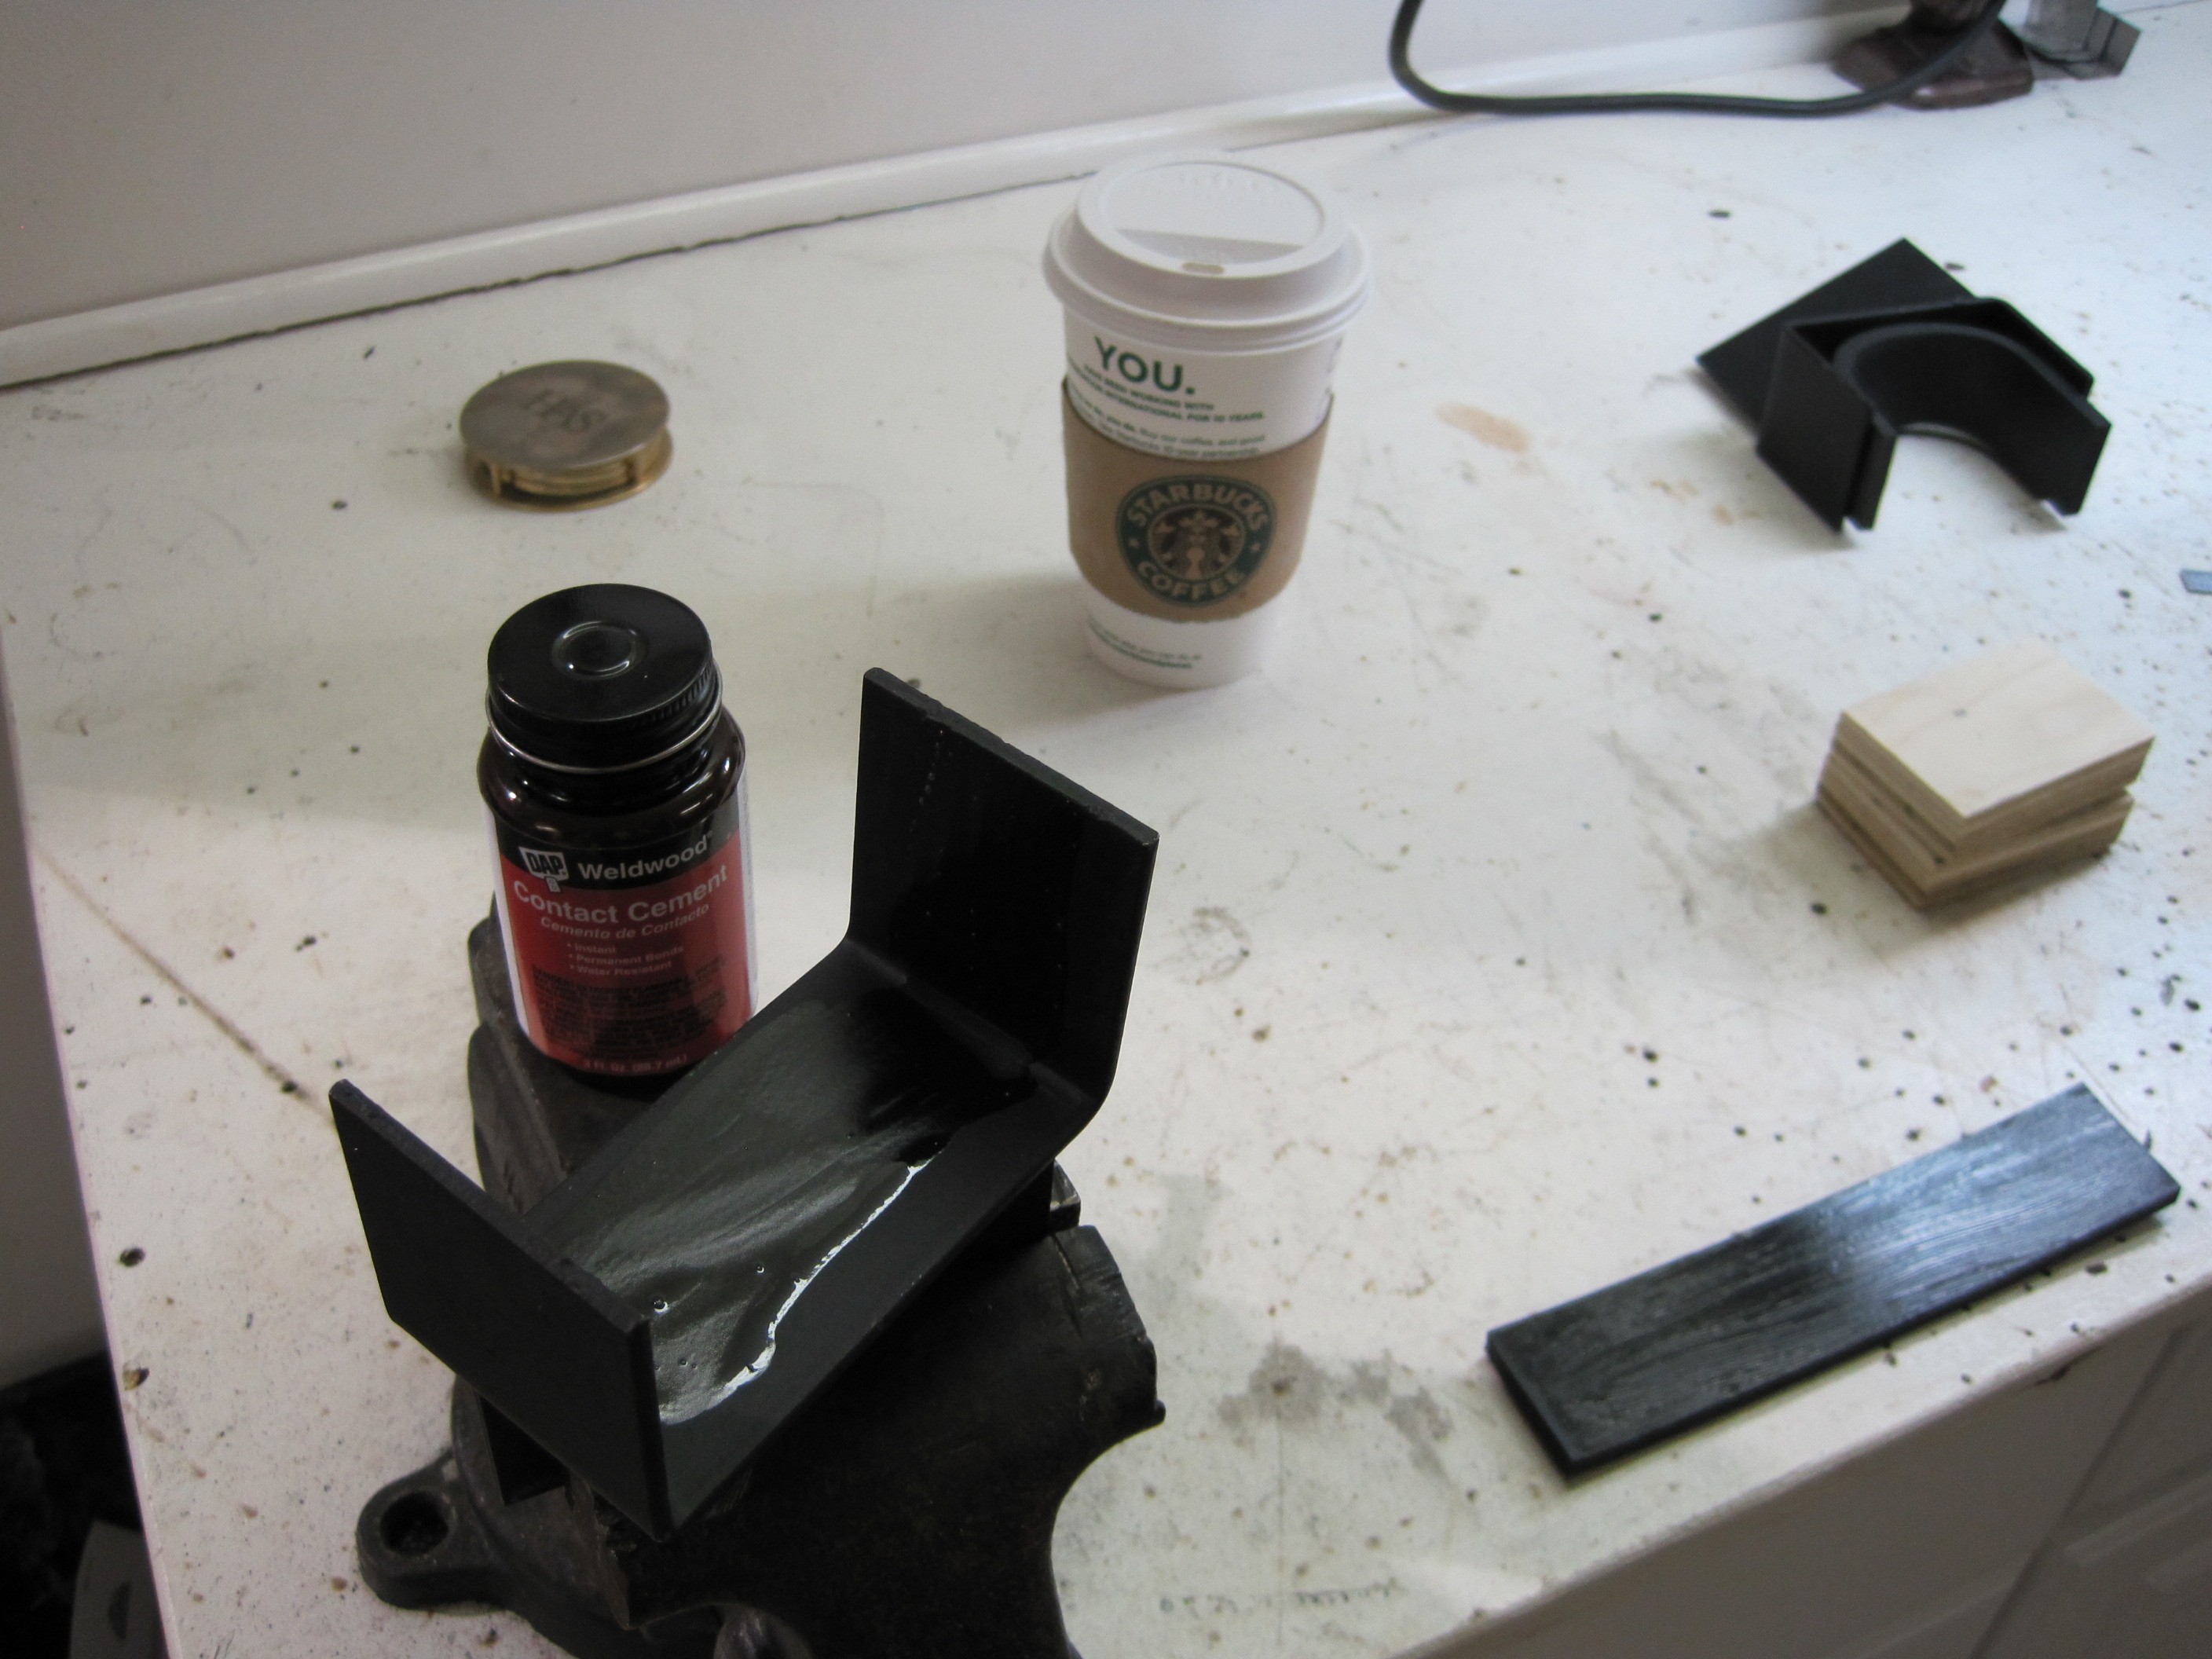
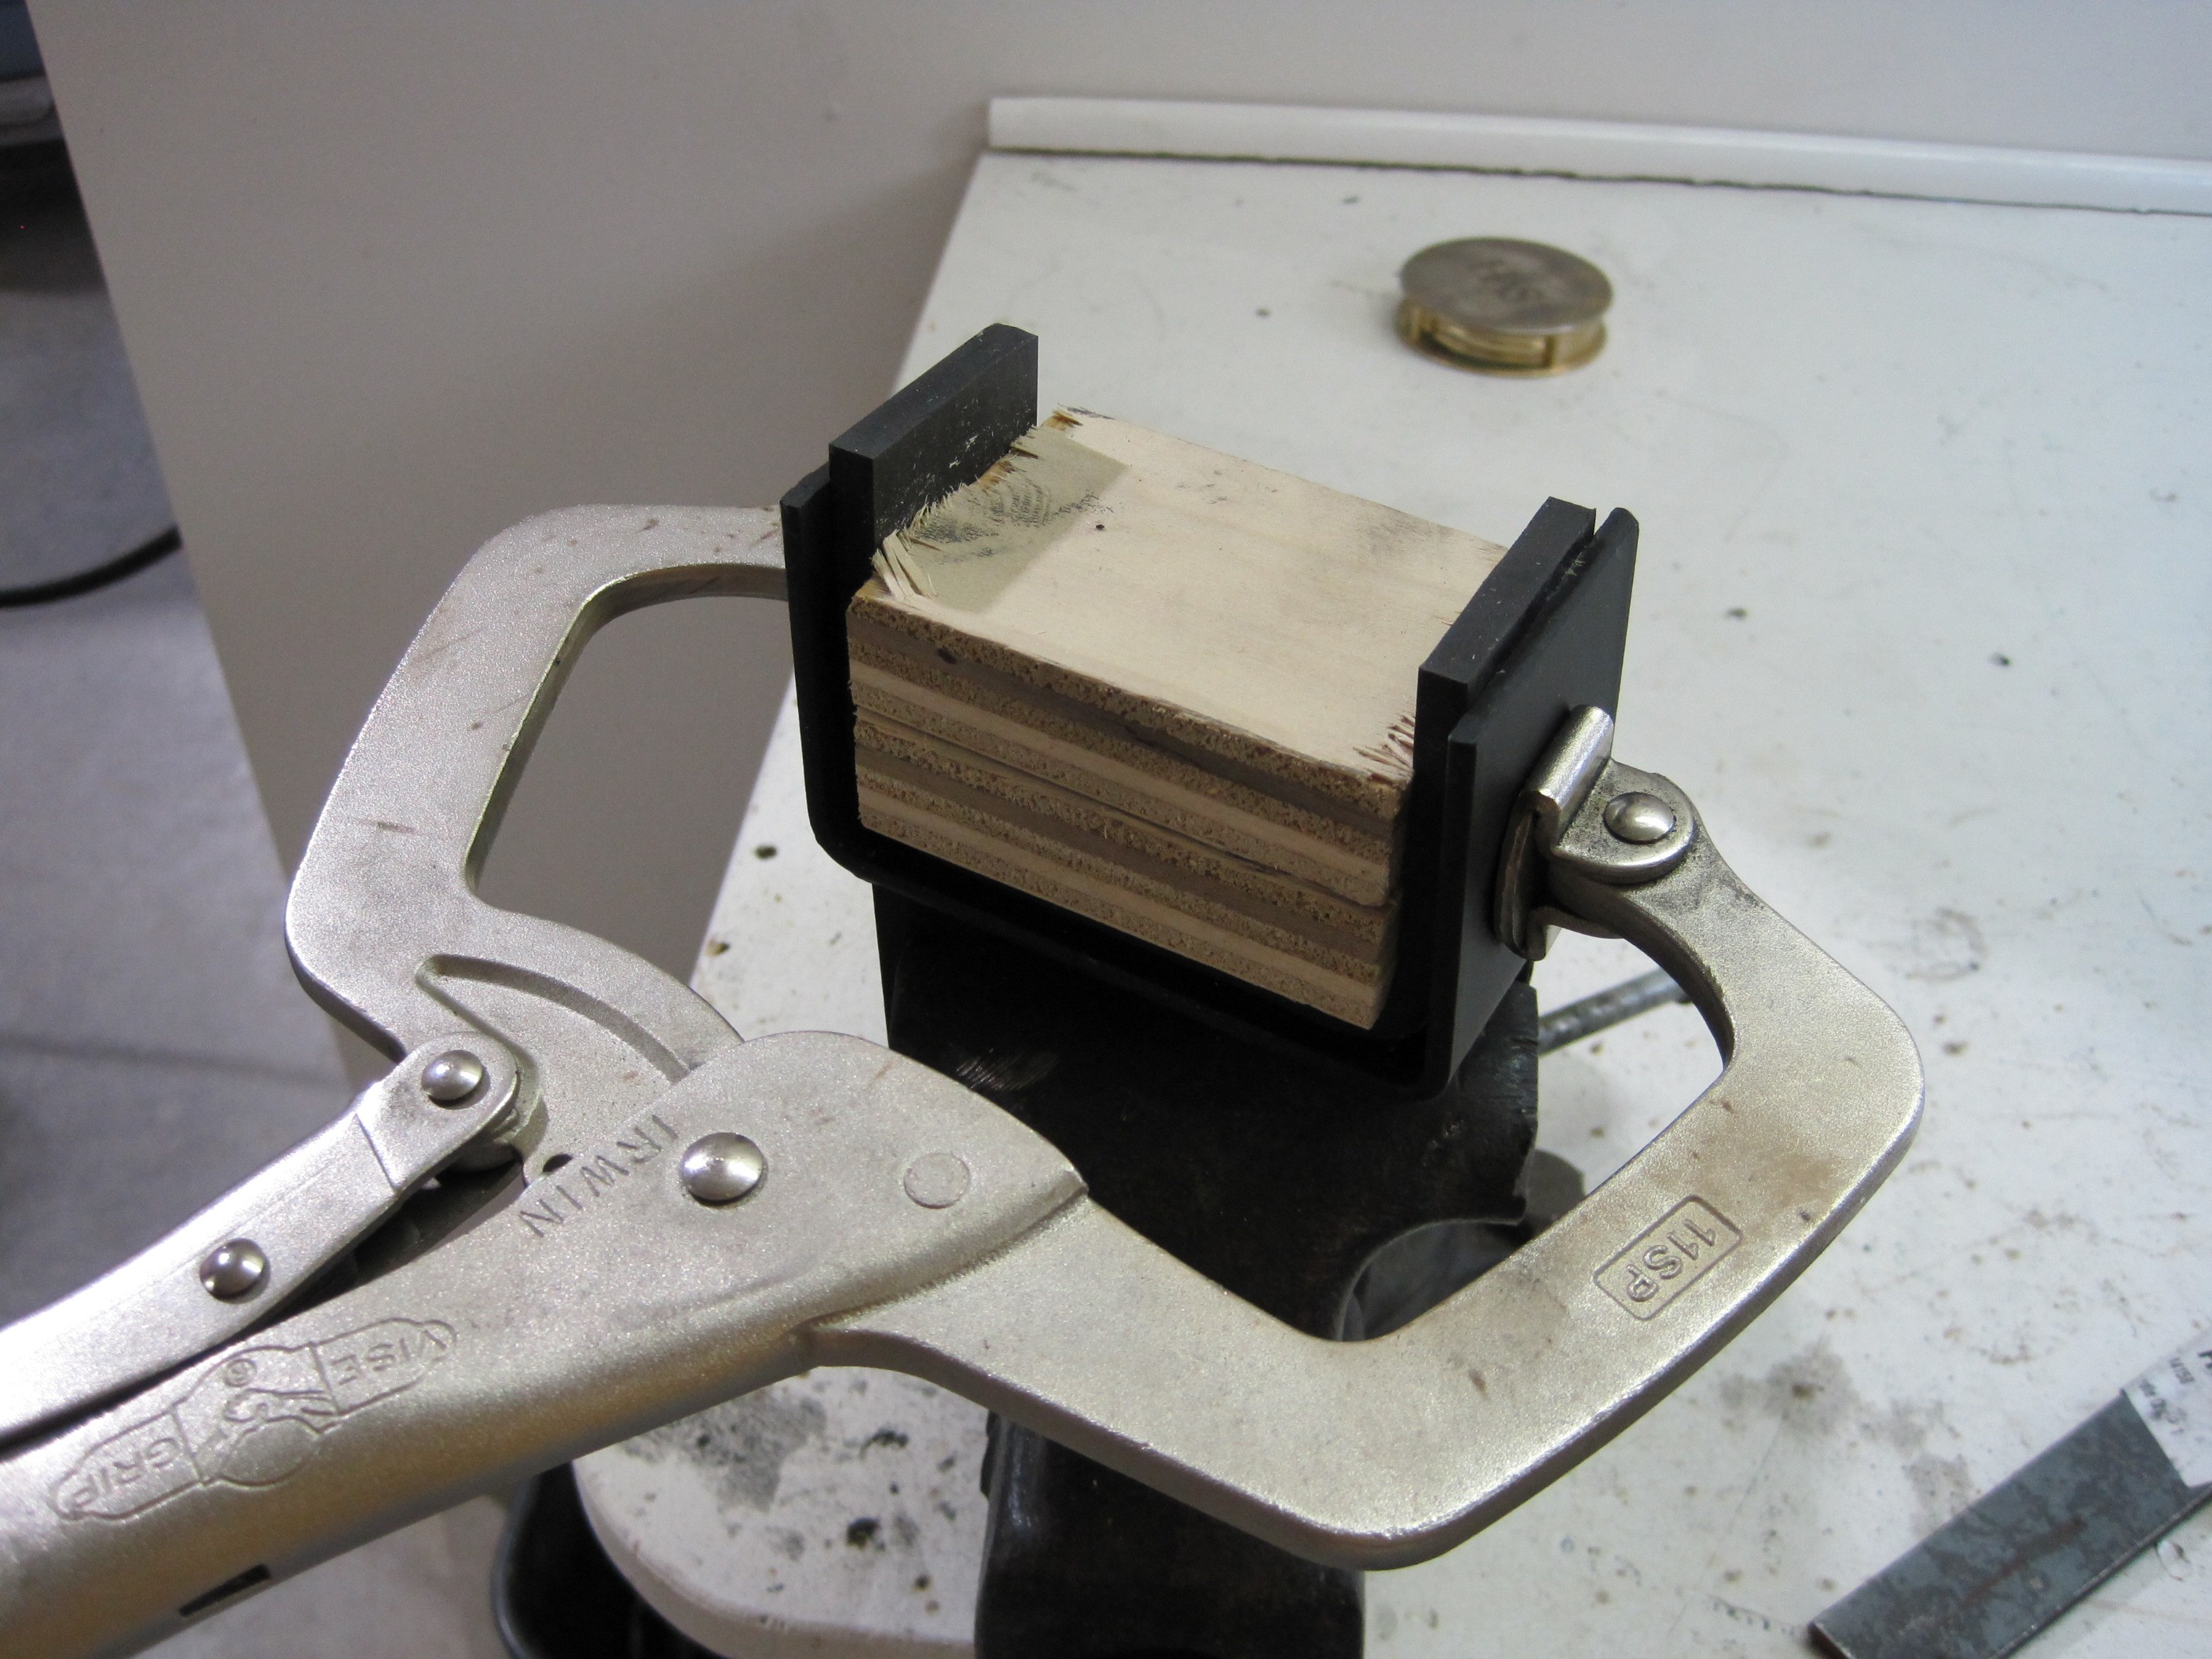
In preparation for
mounting, I glued the hard rubber strips to the radiator hold down brackets
using rubber cement.

After letting the
cement set up for 15 minutes, I clamped it all together.
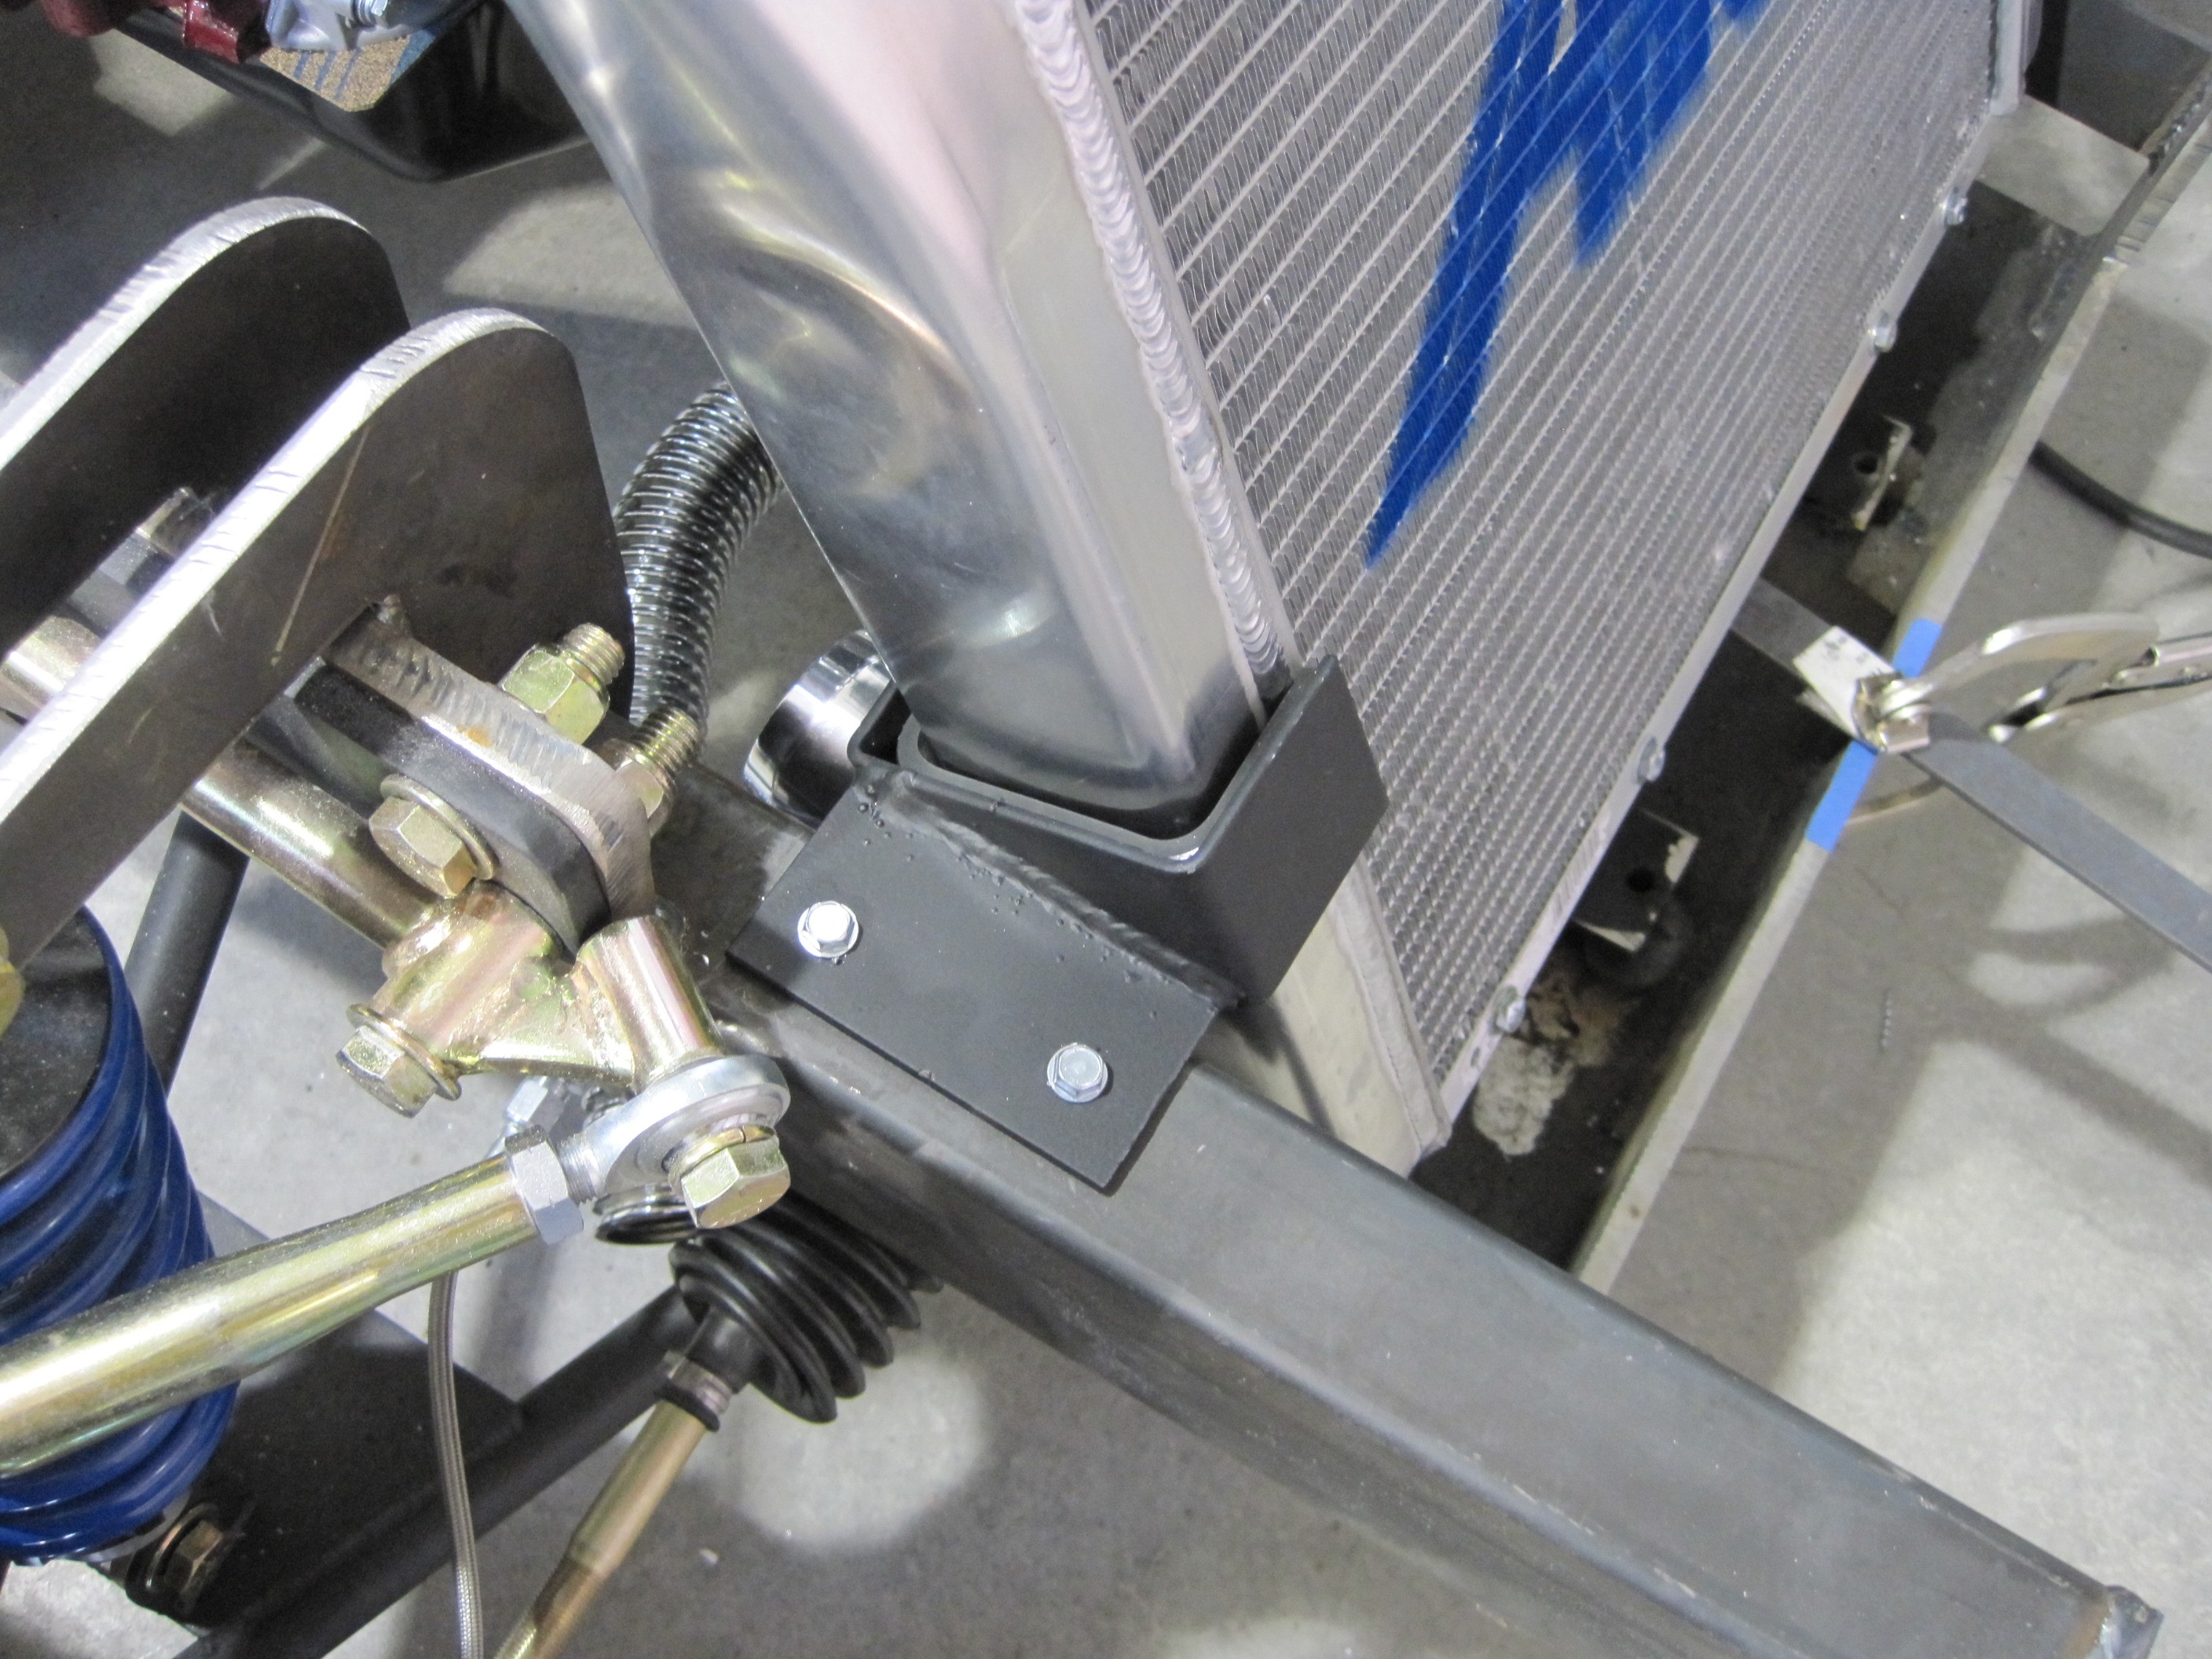
After messing with the
radiator position for two full months, I've decided to mount it as low as I
can go and then just lift the body high enough to clear the radiator cap.
I used a couple of clamps and strips to hold the position of the radiator.
It is just clearing the steering rack on the bottom, not touching the frame
in the corners, and is as close to the engine as I can get it.
Once in this position,
I welded the lower mounts to the frame and screwed the hold down brackets to
the frame rail.
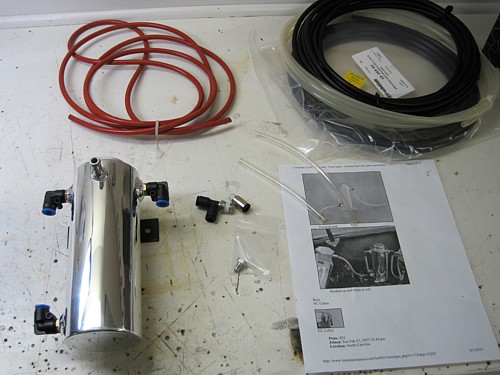
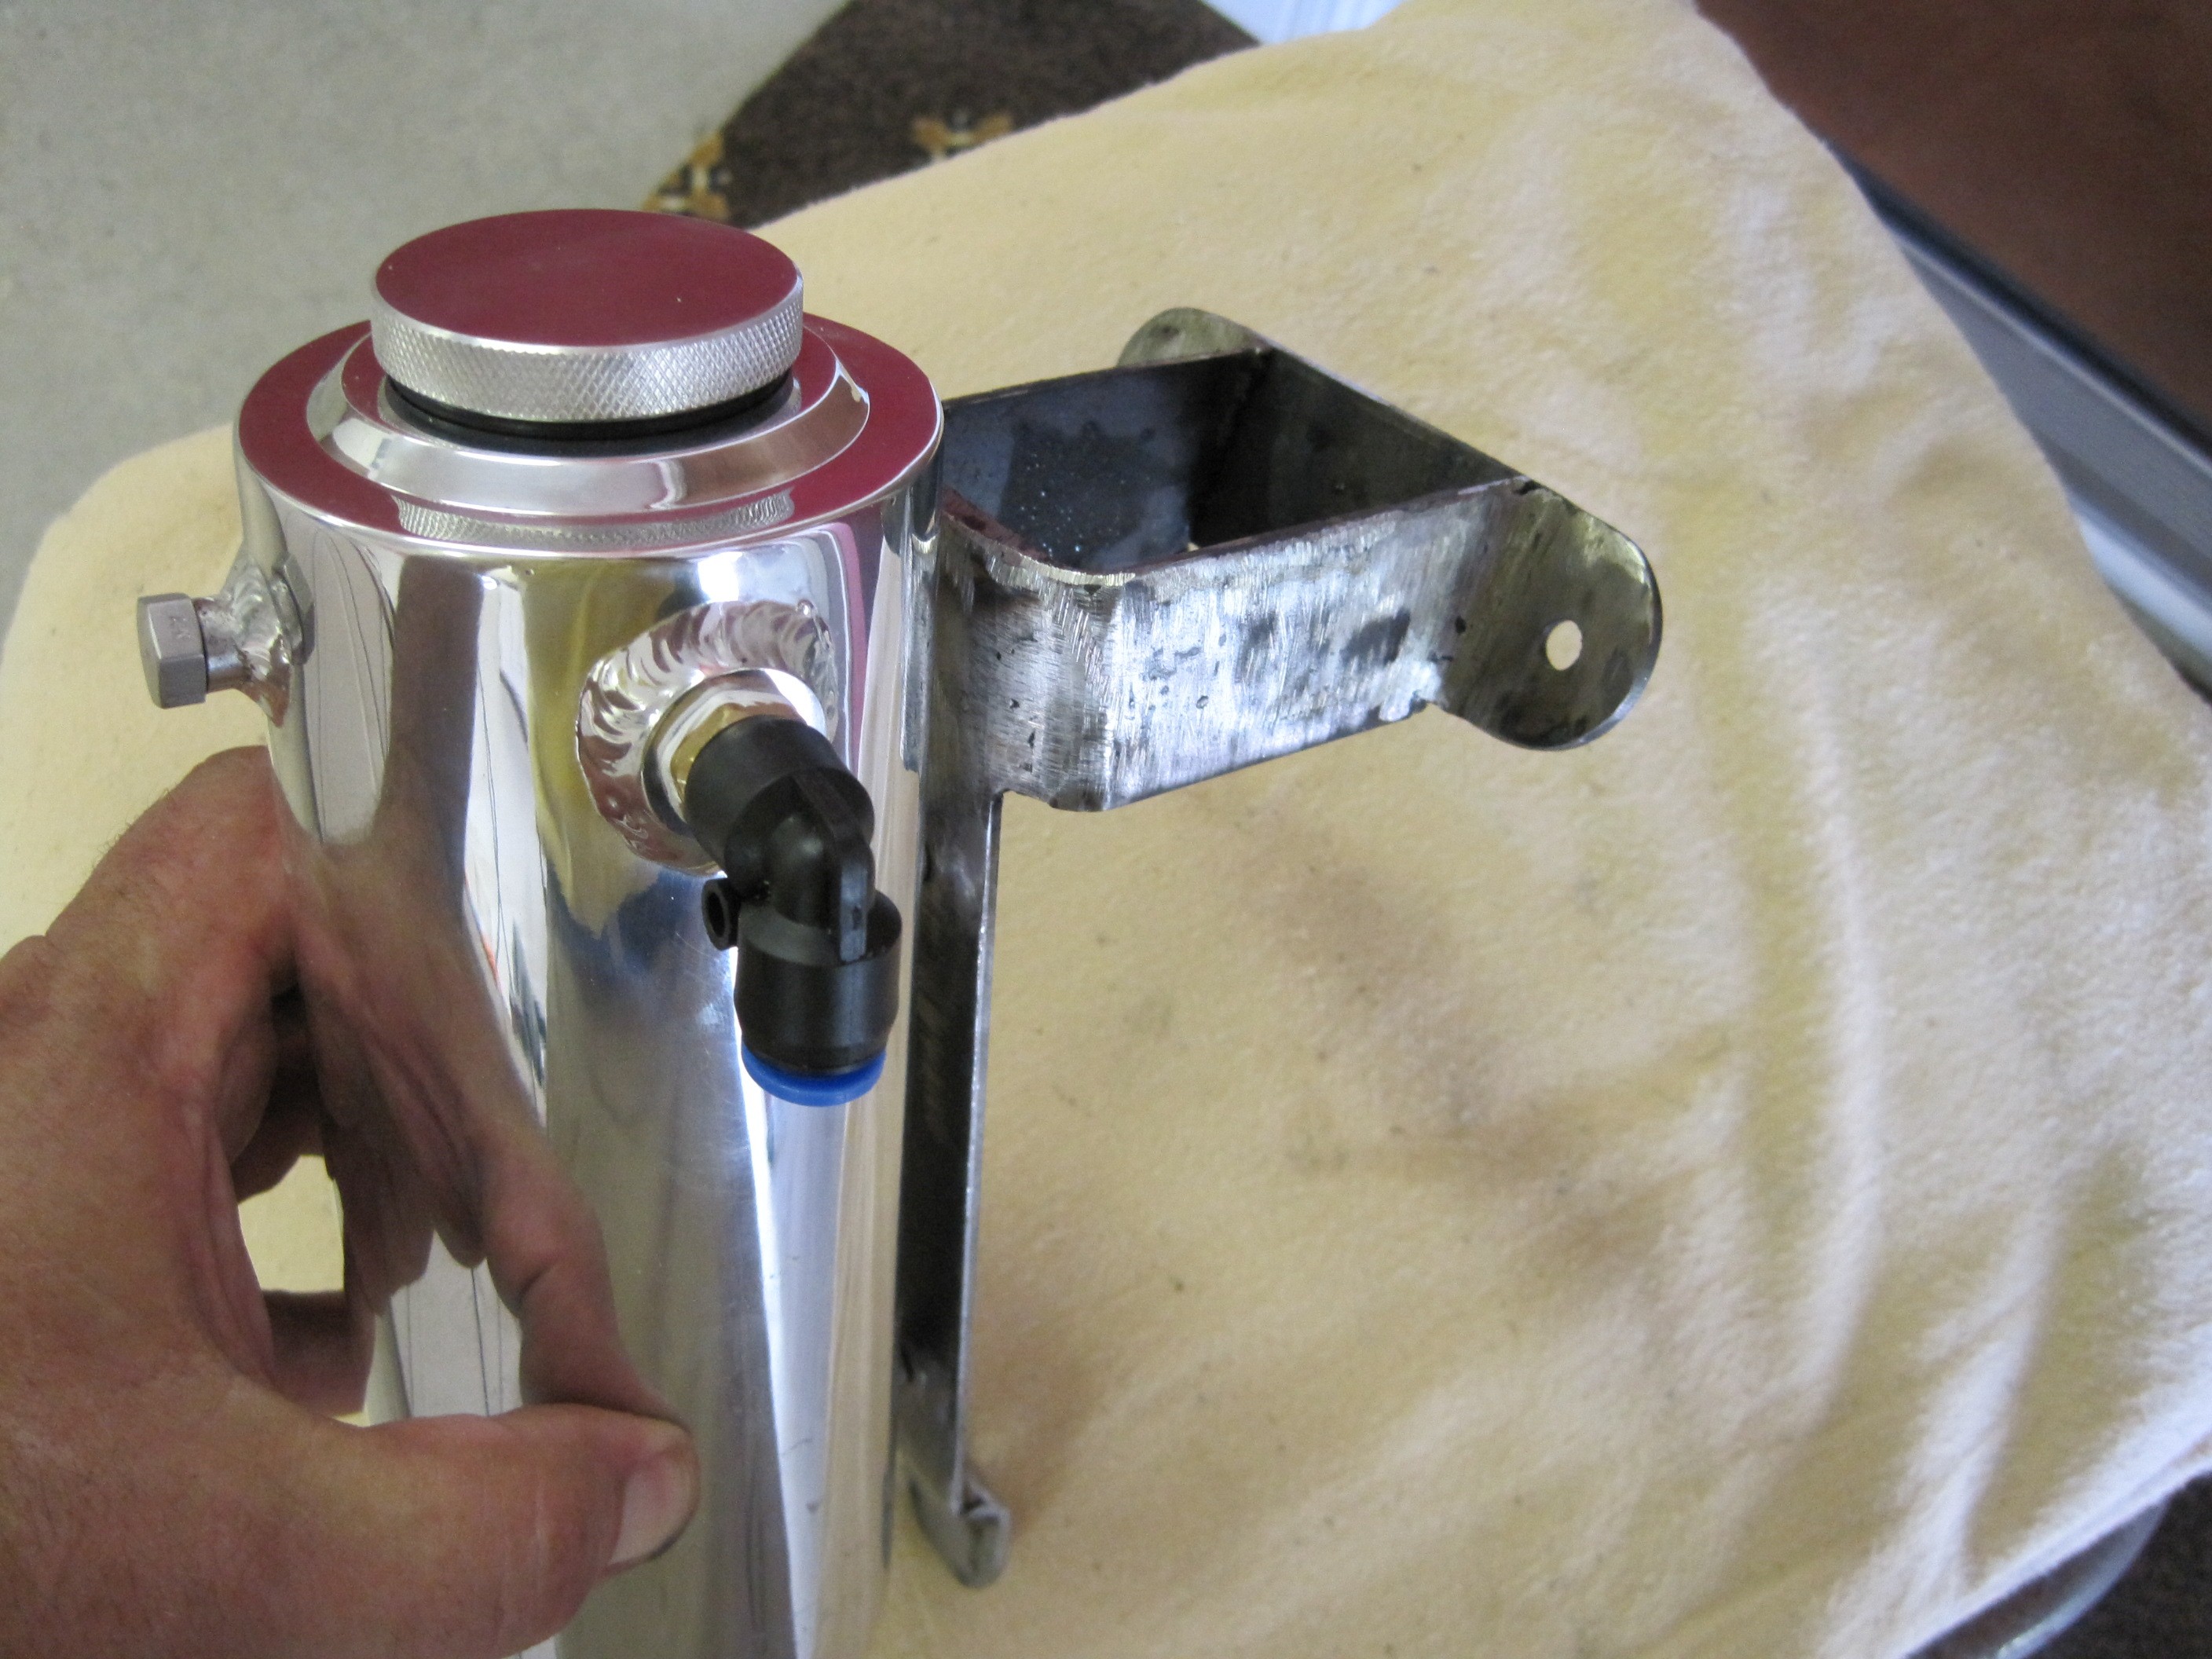
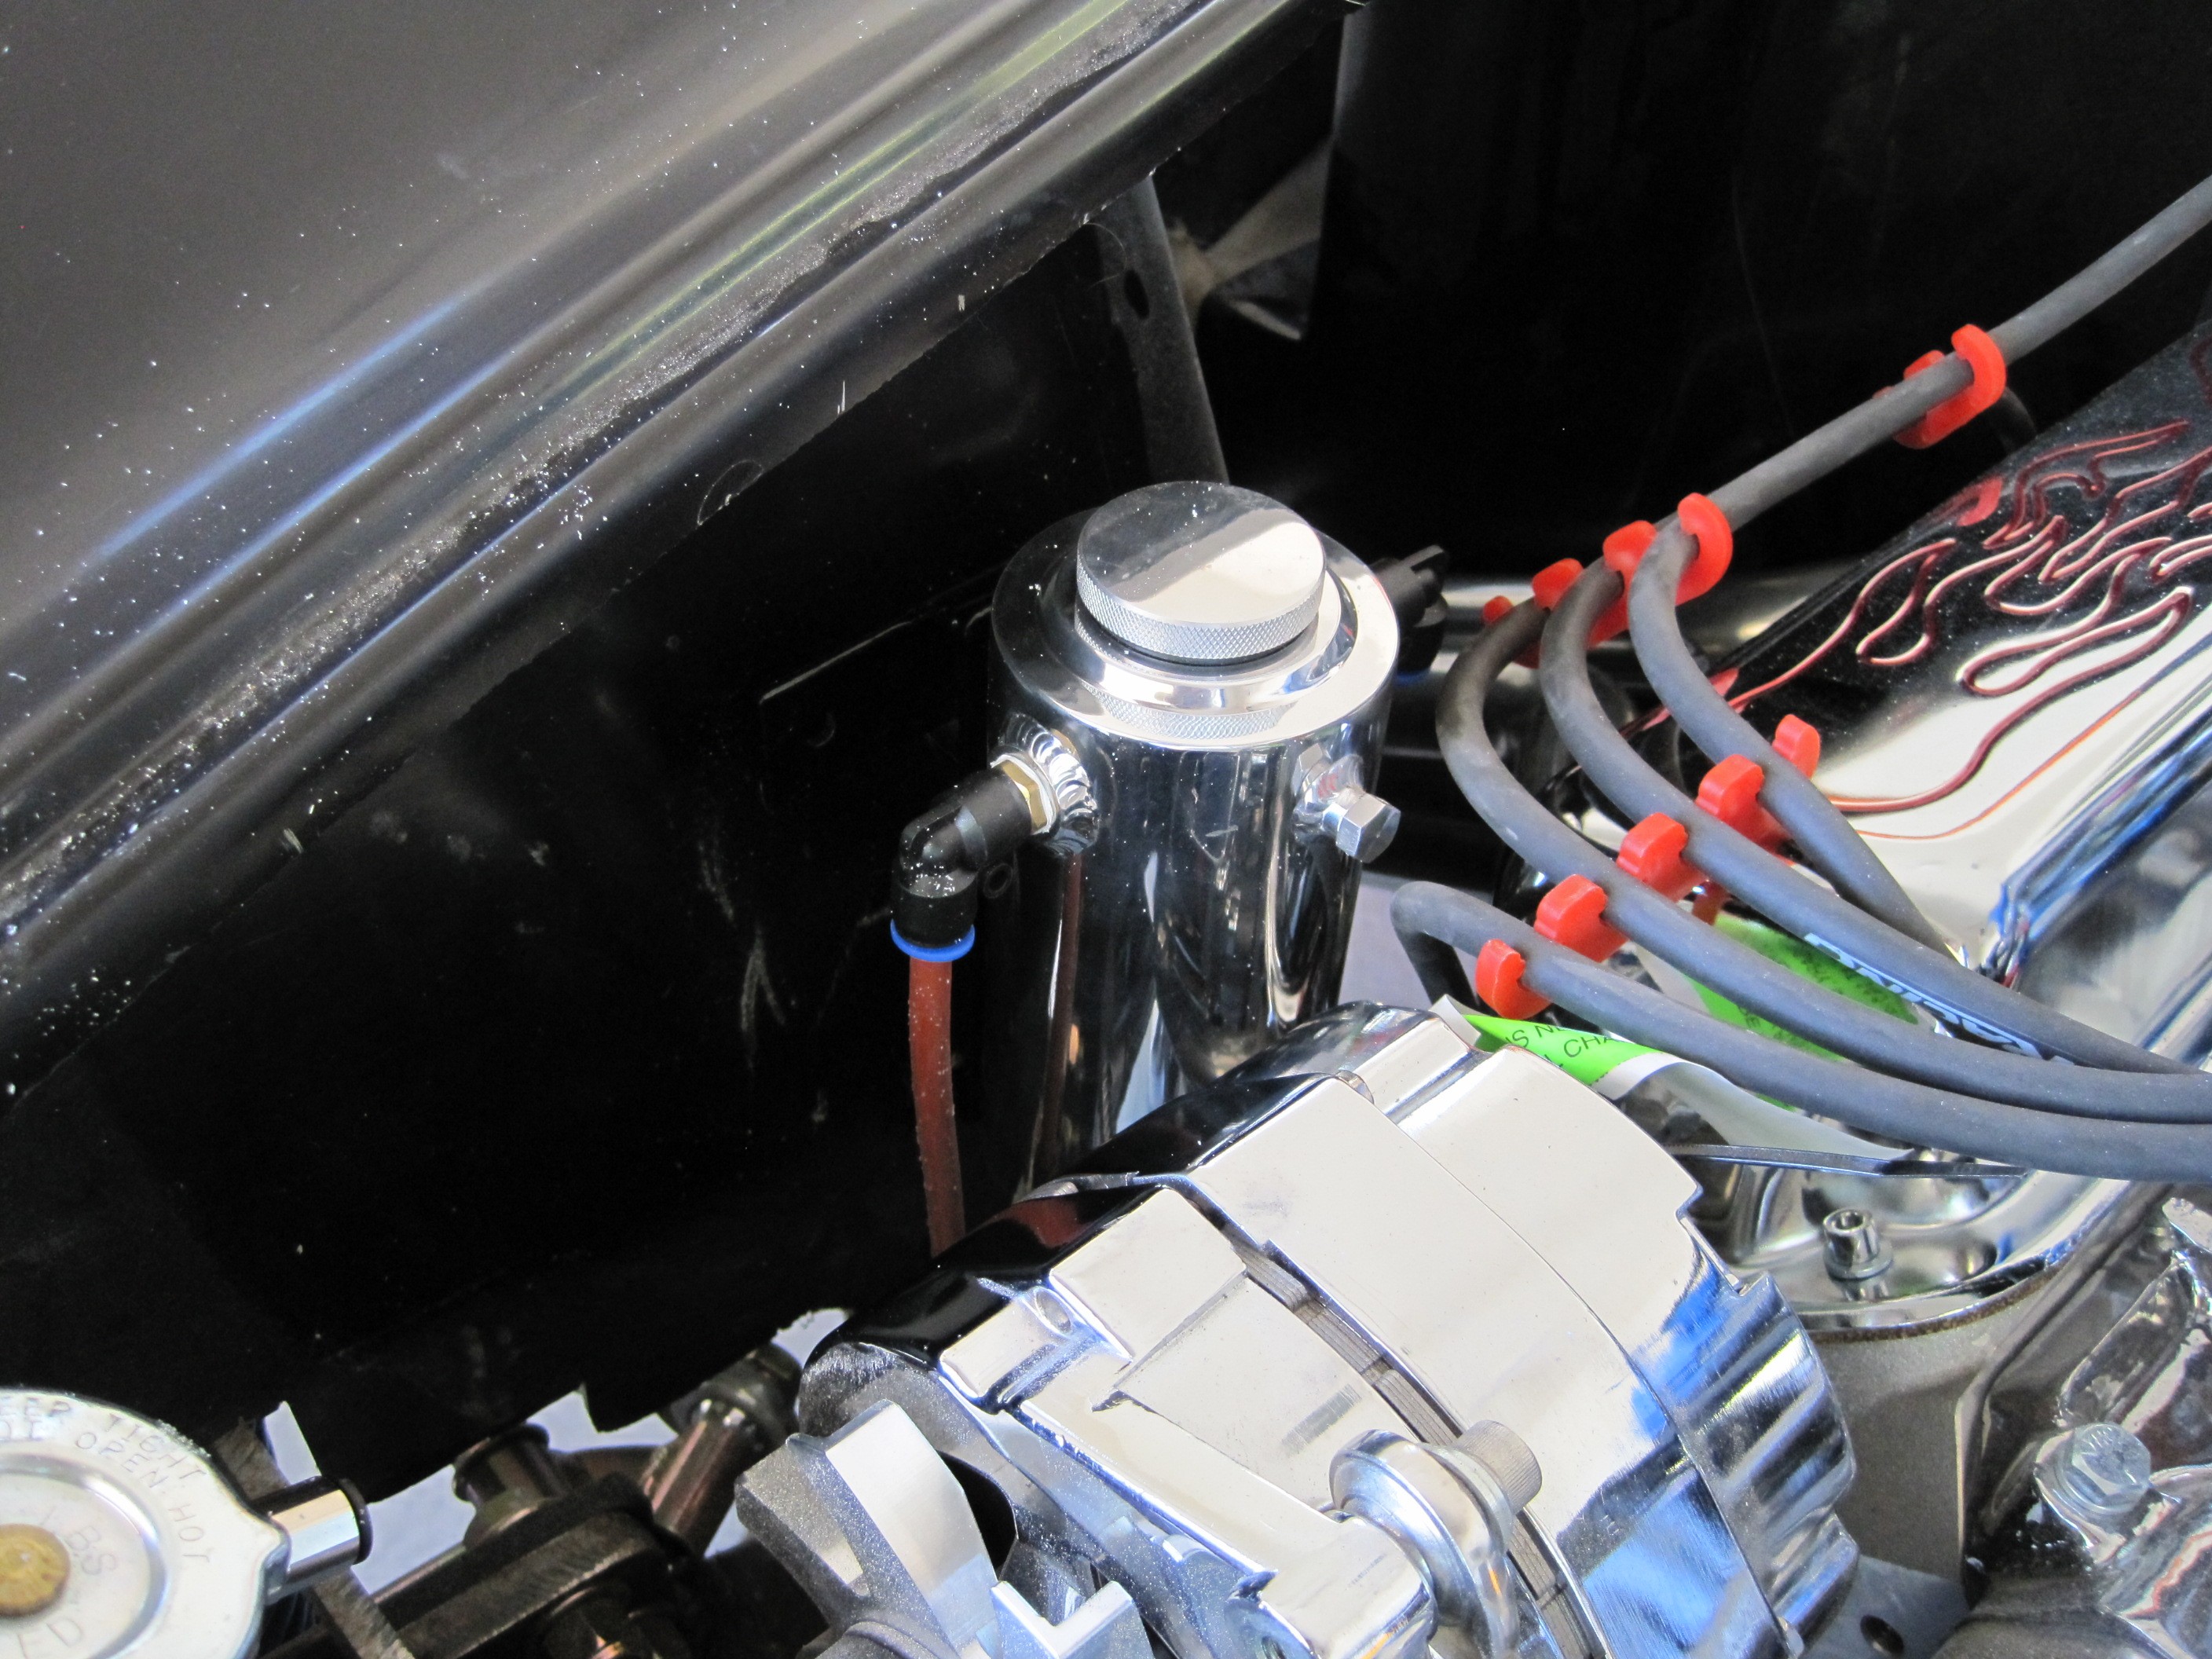
This is a little later
in the build process. With the body mounted, I decided to mount the
overflow tank. This is not the tank that comes with the kit but rather
a chrome Weapon R tank. In it's original configuration, it is just an
overflow tank. There's no provision for the coolant to get back to the
radiator once it cools. Using some instructions from the Lone Star
builders forum, I ordered up the parts that will convert this set-up to a
true overflow/return tank.

Once the modifications
were made, I fabricated a bracket to mount it to the inside of the fender.
Since the fender tilts away from the engine at an angle, the bracket is a
little tricky. I will have this custom painted/plated prior to final
assembly.

This is the best place
I could mount mine. It's a little tight but okay. It doesn't hit
anything and is functional.
That finishes up the
first section of construction, assembly of the frame. Next up will be
to get the body prepared for mounting.
|